
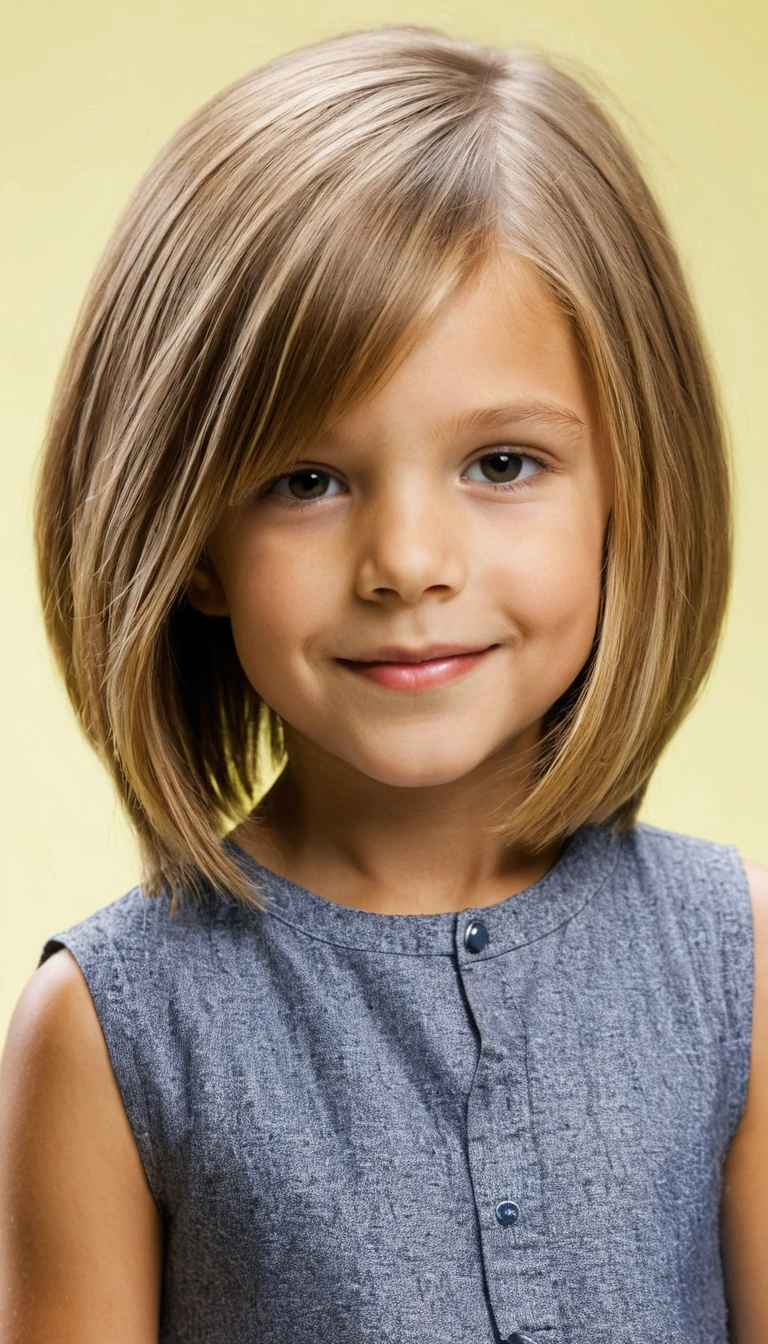
6 Year Old Hair Cut Ideas – Choosing the perfect haircut for a 6-year-old can be both exciting and practical, balancing style with easy maintenance. For girls, adorable options include classic bob cuts, layered shoulder-length styles, or cute pixie cuts for a low-maintenance yet stylish look. Long hair can be enhanced with soft layers, side-swept bangs, or gentle curls to add volume and movement.
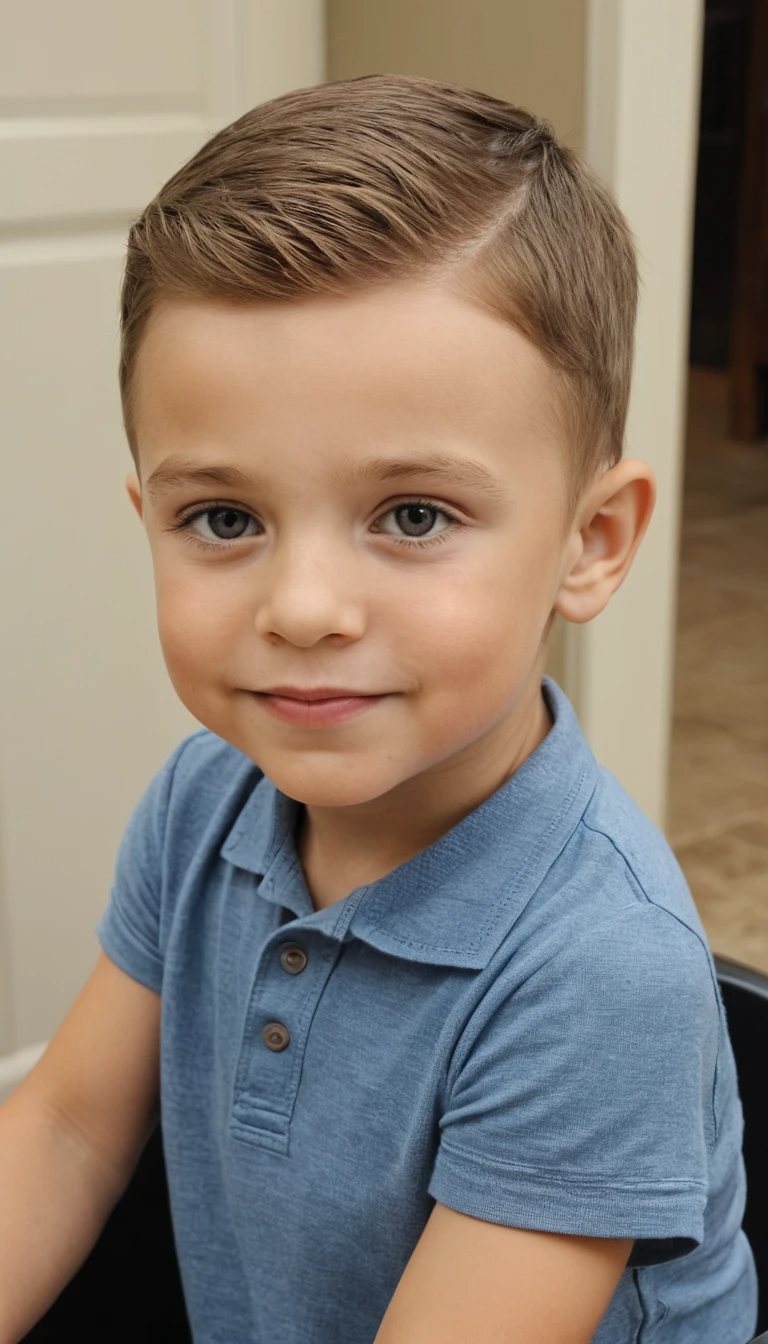
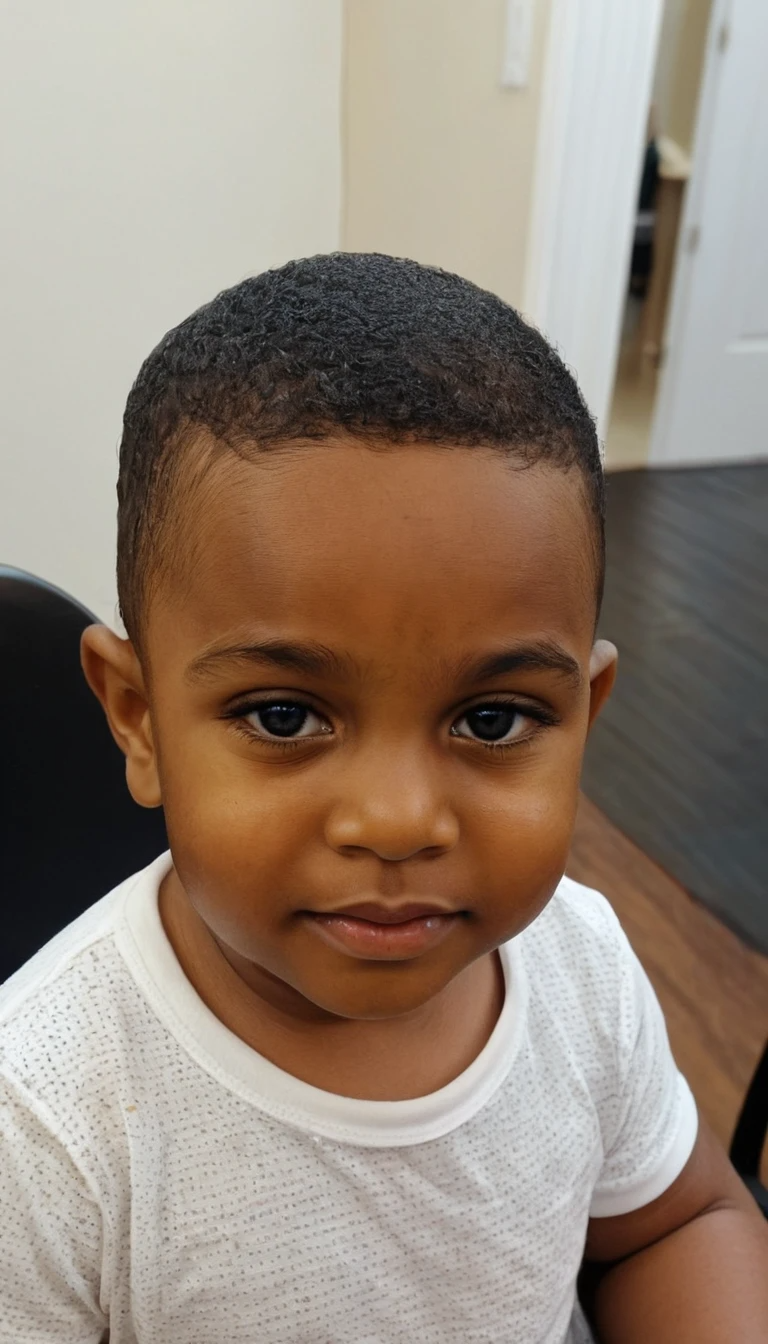
Braided styles, ponytails, and pigtails can also make everyday styling fun. For boys, popular choices range from crew cuts, fades, and undercuts for a clean and sharp appearance to longer, tousled styles or side-parted cuts for a more relaxed look. Some trendy choices include the textured crop, spiky styles, or a classic bowl cut with a modern touch. Regardless of the style, the key is to choose a haircut that matches the child’s personality while being easy to manage and maintain.
6 Year Old Hair Cut Ideas
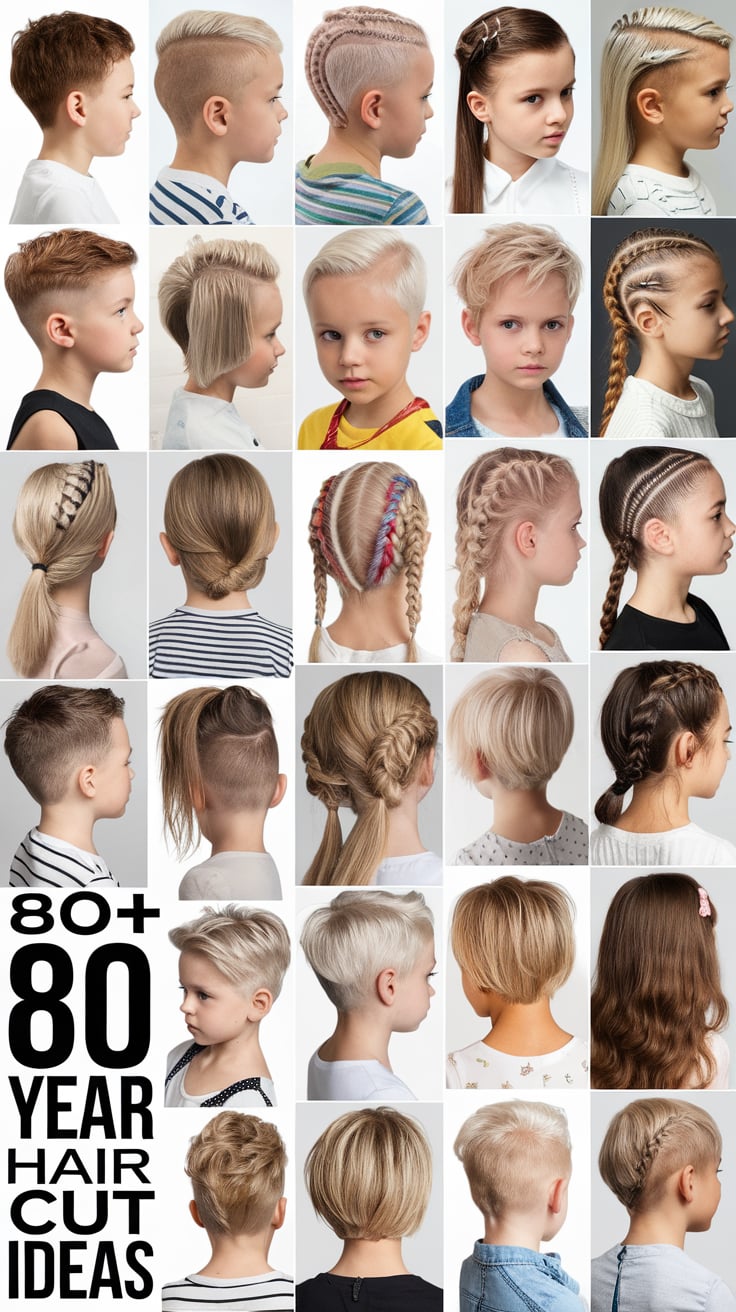
Here’s a 100+ list of haircut ideas for 6-year-old kids, including styles for both boys and girls!

👧 Haircuts for 6-Year-Old Girls
- Classic Bob
- Blunt Cut Bob
- A-Line Bob
- Stacked Bob
- Layered Bob
- Long Bob (Lob)
- Pixie Cut
- Asymmetrical Pixie Cut
- Shaggy Pixie
- Side-Swept Pixie
- Classic Shoulder-Length Cut
- Layered Shoulder-Length Cut
- U-Cut Long Hair
- V-Cut Long Hair
- Feathered Layers
- Soft Curls with Layers
- Choppy Layers
- Face-Framing Layers
- Side-Swept Bangs
- Curtain Bangs
- Wispy Bangs
- Straight Across Bangs
- Curly Bangs
- Blunt Cut with Bangs
- Long Wavy Hair
- Half-Up, Half-Down Cut
- Braided Crown Cut
- High Ponytail Cut
- Waterfall Layered Cut
- Messy Bob with Waves
- Side-Parted Lob
- Tapered Lob
- Razor Cut Bob
- Undercut Bob
- Long Hair with Front Layers
- Textured Lob
- Soft Wolf Cut
- Butterfly Cut
- Beach Waves Cut
- French Bob
- Choppy Bob with Bangs
- Curly Bob
- Angled Bob
- Micro Bangs with Bob
- Sleek Straight Bob
- Long Layered Curls
- Mid-Length Flip Cut
- Princess Cut with Layers
- Boho Waves Cut
- Tousled Bob
👦 Haircuts for 6-Year-Old Boys
- Crew Cut
- Classic Buzz Cut
- High and Tight Cut
- Taper Fade Cut
- Low Fade Cut
- Mid Fade Cut
- High Fade Cut
- Drop Fade Cut
- Bald Fade Cut
- Skin Fade Cut
- French Crop
- Textured Crop
- Caesar Cut
- Faux Hawk Cut
- Spiky Haircut
- Side-Parted Haircut
- Classic Side-Swept Style
- Undercut with Comb-Over
- Hard Part Cut
- Long Side-Swept Cut
- Short Pompadour
- Long Pompadour
- Modern Bowl Cut
- Straight Bowl Cut
- Curly Bowl Cut
- Ivy League Haircut
- Flat Top Cut
- Curly Top with Fade
- Long Wavy Hair
- Messy Textured Hair
- Short Shaggy Hair
- Medium-Length Shag
- Curly Taper Cut
- Long Hair with Undercut
- Afro with Fade
- Slicked Back Cut
- Brushed-Up Haircut
- Side-Swept Undercut
- Mohawk with Fade
- Mini Mohawk
- Short Messy Cut
- Choppy Crop Cut
- Layered Medium Cut
- Hard Line Design Cut
- Tapered Cut with Spikes
- Comb-Over with Hard Part
- Wavy Faux Hawk
- Disconnected Undercut
- Textured Medium-Length Hair
- Little Gentleman Haircut
- Long Surfer Hair
- Peaked Fringe Cut
- Angled Bangs Cut
- Tousled Waves Cut
- Rockstar Messy Hair
These styles are trendy, stylish, and kid-friendly, ensuring your 6-year-old looks adorable while staying comfortable!
How to do These haircuts
1. Classic Bob
A classic bob is a chin-length haircut with an even cut all around, making it a timeless and easy-to-maintain style.
Tools Needed:
✔️ Sharp haircutting scissors
✔️ Fine-tooth comb
✔️ Spray bottle with water
✔️ Hair clips
✔️ Blow dryer & round brush (for styling)
Step-by-Step Instructions:
1️⃣ Prepare the Hair:
- Wash and towel-dry the hair.
- Comb through to remove tangles.
- Use a spray bottle to keep the hair damp while cutting.
2️⃣ Create Sections:
- Divide the hair into three sections: left, right, and back.
- Clip the top layers away, leaving only the bottom section to cut first.
3️⃣ Start Cutting:
- Begin at the nape of the neck and cut a straight line across, following the natural hairline.
- Work your way up, releasing sections gradually and cutting each to the same length.
4️⃣ Check for Evenness:
- Comb the hair down and check if both sides are symmetrical.
- Make small trims to fix any uneven sections.
5️⃣ Style the Hair:
- Blow-dry using a round brush for a smooth finish.
- If desired, use a straightener for a sleek look.
2. Blunt Cut Bob
A blunt cut bob is similar to the classic bob but features a sharp, straight edge with no layers, creating a bold and modern appearance.
Step-by-Step Instructions:
1️⃣ Follow Steps 1-3 from the Classic Bob to prepare and section the hair.
2️⃣ Cut the Hair in a Single, Blunt Line:
- Instead of layering, cut the hair straight across in one go.
- Hold the hair at zero-degree elevation (flat against the head) and snip carefully for a precise look.
3️⃣ Refine the Cut:
- Check for stray hairs and trim them for an ultra-sharp edge.
4️⃣ Style the Blunt Bob:
- Blow-dry and use a flat iron for an ultra-sleek finish.
3. A-Line Bob
An A-line bob is a shorter back with longer front strands, creating a stylish angled effect.
Step-by-Step Instructions:
1️⃣ Follow Steps 1-2 from the Classic Bob to prepare and section the hair.
2️⃣ Determine the Angle:
- Decide how dramatic the angle should be.
- The back should be shorter, while the front gradually extends longer.
3️⃣ Start Cutting from the Back:
- Trim the back to the desired short length.
- Move forward, slightly increasing the length toward the front.
4️⃣ Blend the Layers:
- Use the comb to ensure a smooth transition from the back to the longer front strands.
5️⃣ Style the Hair:
- Blow-dry with a round brush, curling the ends slightly inward.

4. Stacked Bob
A stacked bob features shorter layers in the back that gradually increase in length towards the front, creating volume at the crown.
Step-by-Step Instructions:
1️⃣ Follow Steps 1-2 from the Classic Bob to prepare and section the hair.
2️⃣ Start with the Nape:
- Cut the back short and stacked by cutting shorter layers at an angle.
- Keep the front longer, similar to an A-line bob.
3️⃣ Create the Stacking Effect:
- Gradually trim each upper section slightly longer than the one below it to form stacked layers.
4️⃣ Style for Volume:
- Blow-dry with a round brush, lifting at the crown for extra volume.
5. Layered Bob
A layered bob has a soft, feathered look with layers for extra movement and volume.
Step-by-Step Instructions:
1️⃣ Follow Steps 1-2 from the Classic Bob to prepare and section the hair.
2️⃣ Cut the Base Length:
- Cut the bottom of the bob to the desired length.
3️⃣ Add Layers:
- Use a 45-degree elevation and trim the hair at an angle to create soft layers.
- The top layers should be shorter than the bottom for a blended effect.
4️⃣ Style the Layers:
- Blow-dry with a round brush, flipping the ends slightly outward for a bouncy effect.
6. Asymmetrical Pixie Cut
An asymmetrical pixie is a short, edgy haircut with one side longer than the other for a modern, bold look.
Step-by-Step Instructions:
1️⃣ Follow the Basic Pixie Cut Process:
- Cut the back and sides short, leaving one side longer.
2️⃣ Create the Asymmetry:
- On one side, trim the hair closer to the head.
- On the opposite side, leave it longer and taper it down gradually.
3️⃣ Texture the Longer Side:
- Use thinning shears or a razor to add texture to the longer section.
4️⃣ Style It Up:
- Apply a lightweight styling wax to shape the asymmetrical effect.
7. Shaggy Pixie
A shaggy pixie is a messy, choppy short haircut with textured layers for a playful and effortless look.
Step-by-Step Instructions:
1️⃣ Trim the Back & Sides:
- Cut the back and sides short while leaving the top longer.
2️⃣ Add Choppy Layers:
- Use point-cutting or a razor to create uneven layers for a shaggy effect.
3️⃣ Thin Out the Edges:
- Use thinning shears to reduce bulk for a wispy, soft look.
4️⃣ Style with Texture:
- Apply a texturizing spray or pomade to define the choppy layers.
8. Side-Swept Pixie
A side-swept pixie is a short haircut with longer layers on one side, creating a sleek, dramatic side-swept effect.
Step-by-Step Instructions:
1️⃣ Follow the Basic Pixie Cut Steps:
- Trim the back and sides short while keeping the top longer.
2️⃣ Create the Side-Sweep Effect:
- Cut the longer top layers to angle toward one side.
- The hair should naturally flow in one direction for a dramatic sweep.
3️⃣ Texturize for Softness:
- Use point-cutting to remove bulk and enhance movement.
4️⃣ Style the Side-Swept Look:
- Apply a light styling cream and brush hair to one side for a sleek finish.