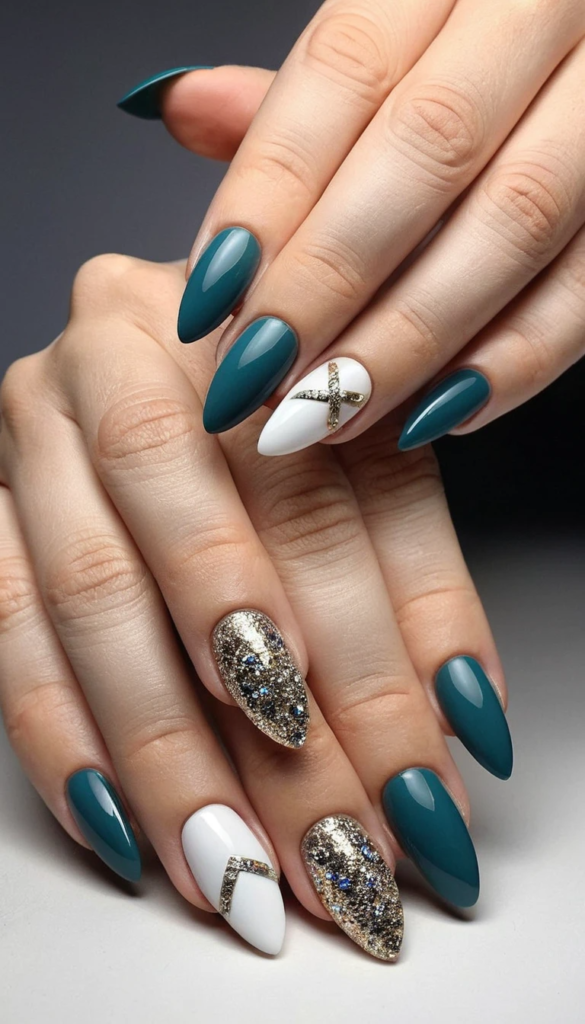
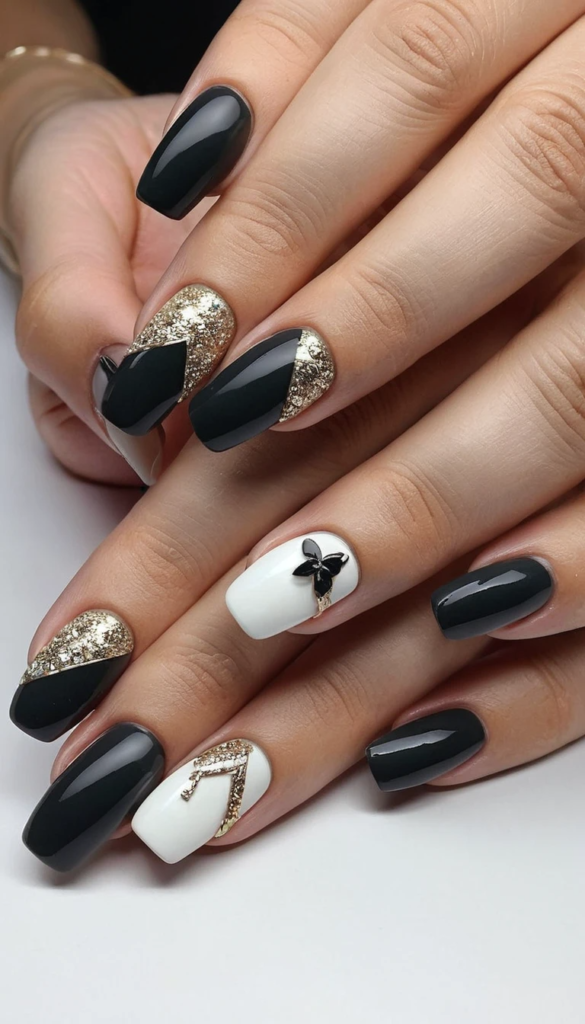
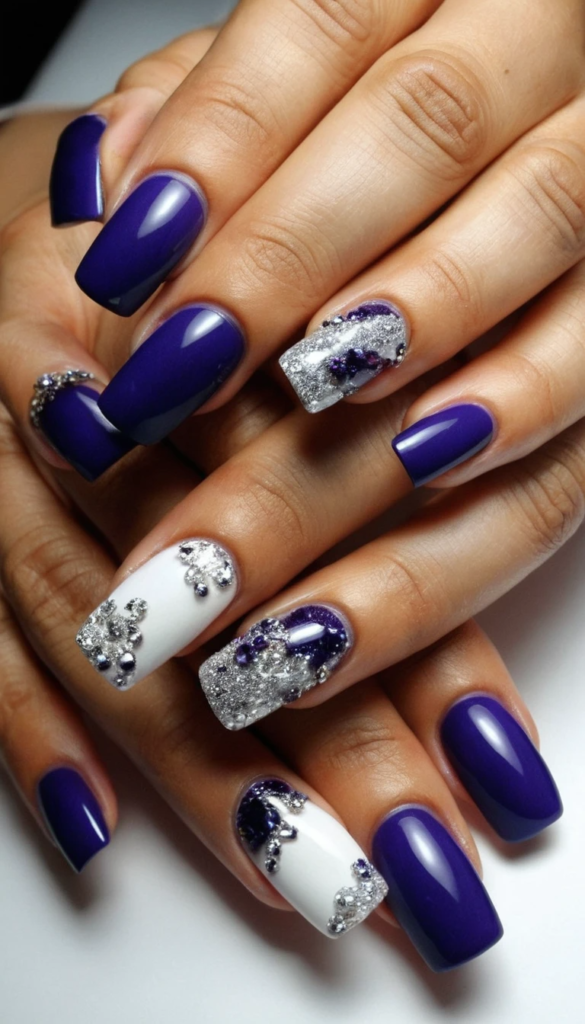
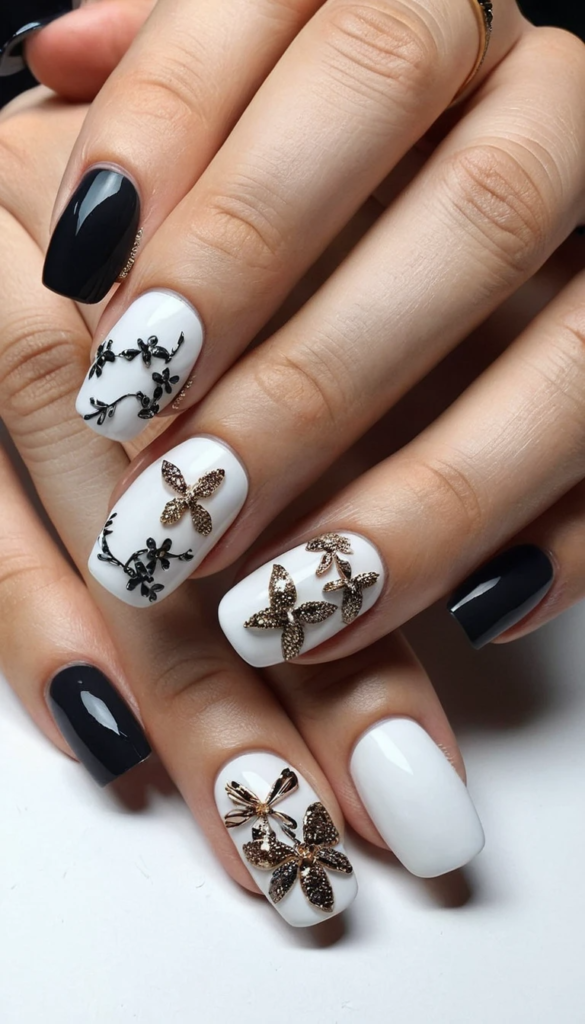
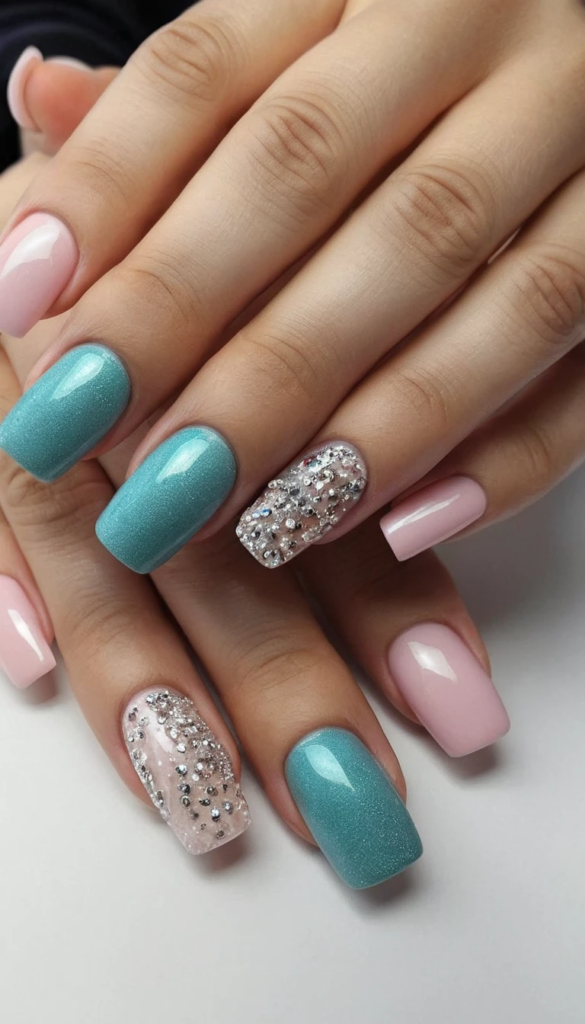
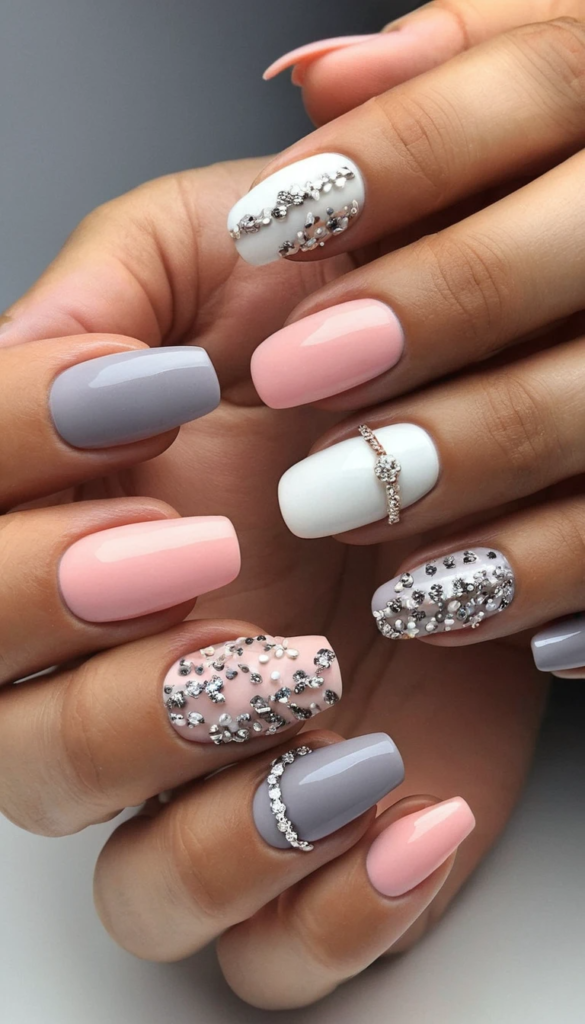
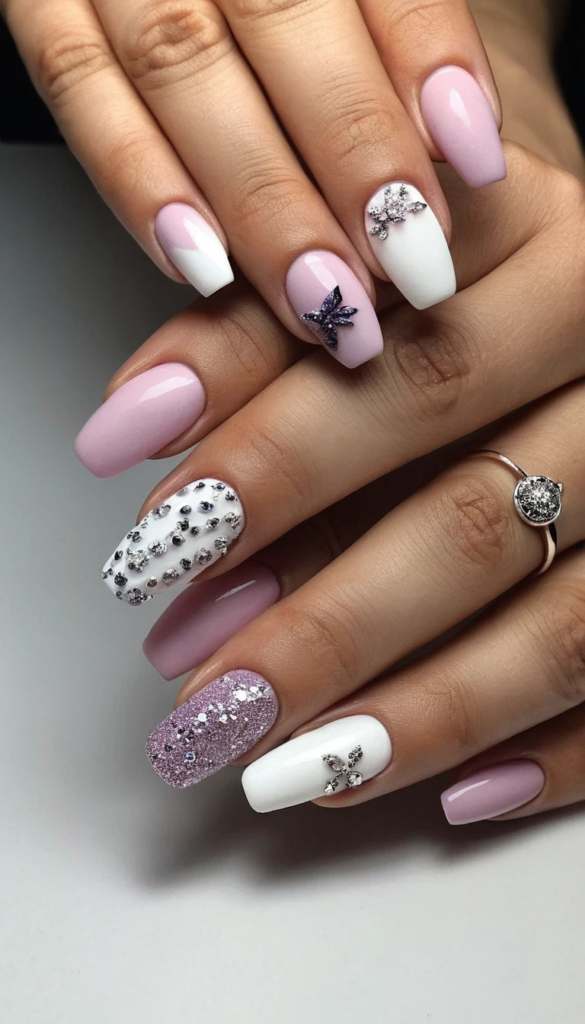
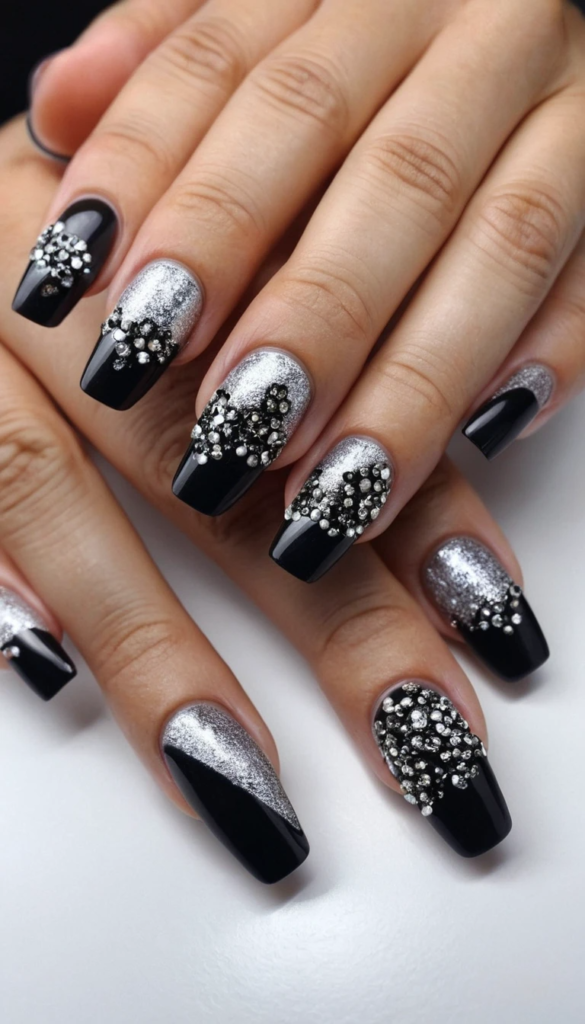
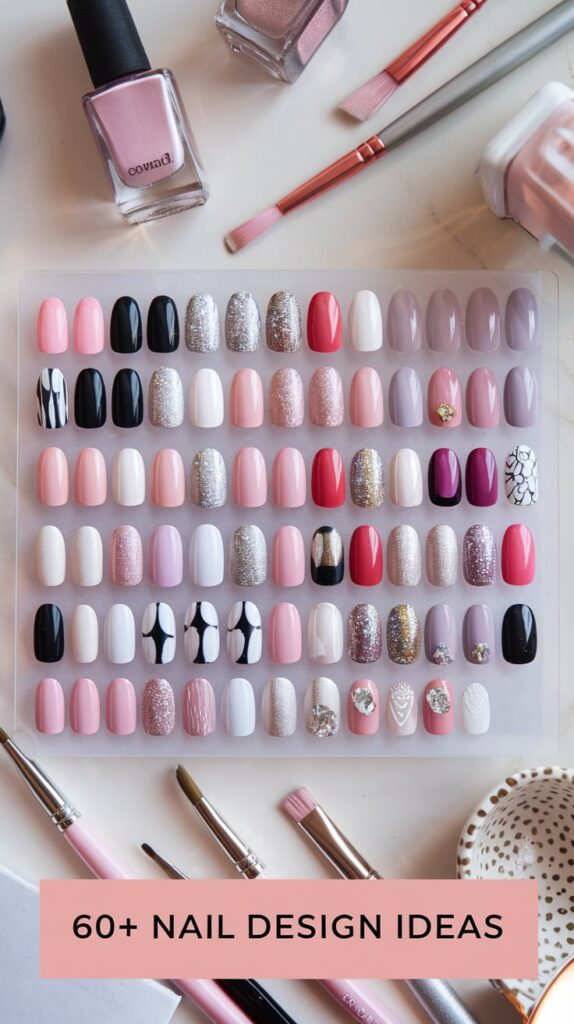
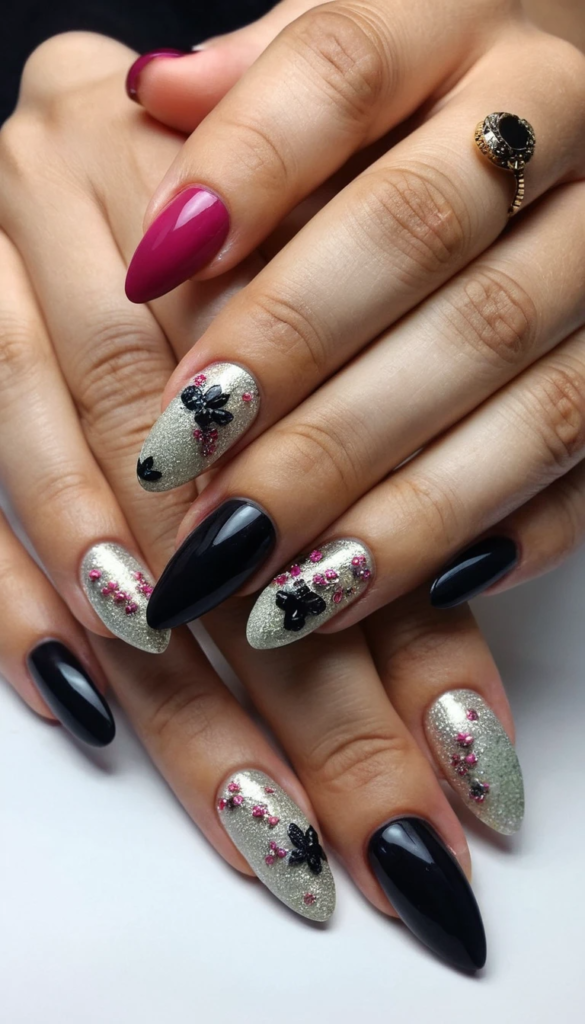
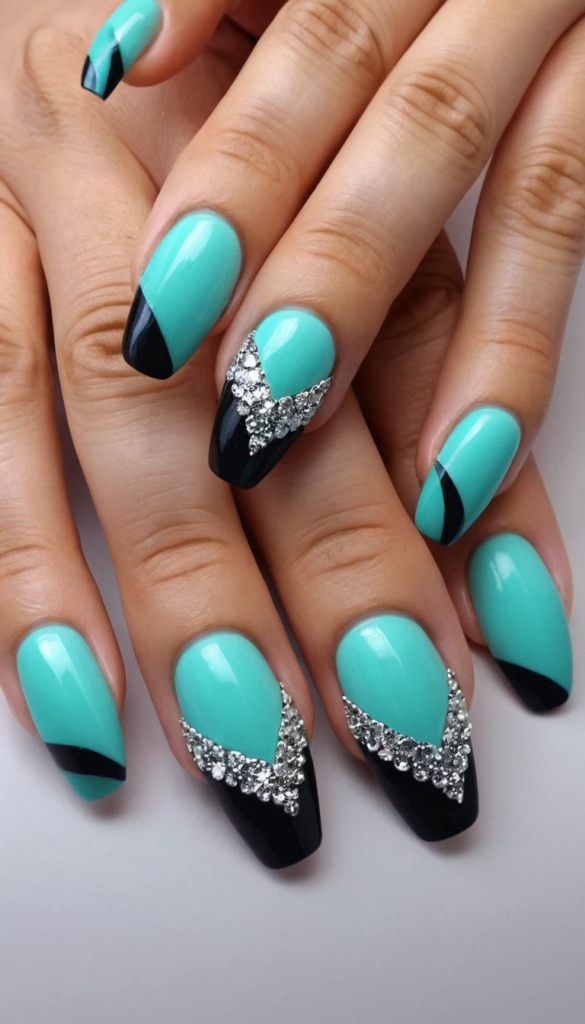
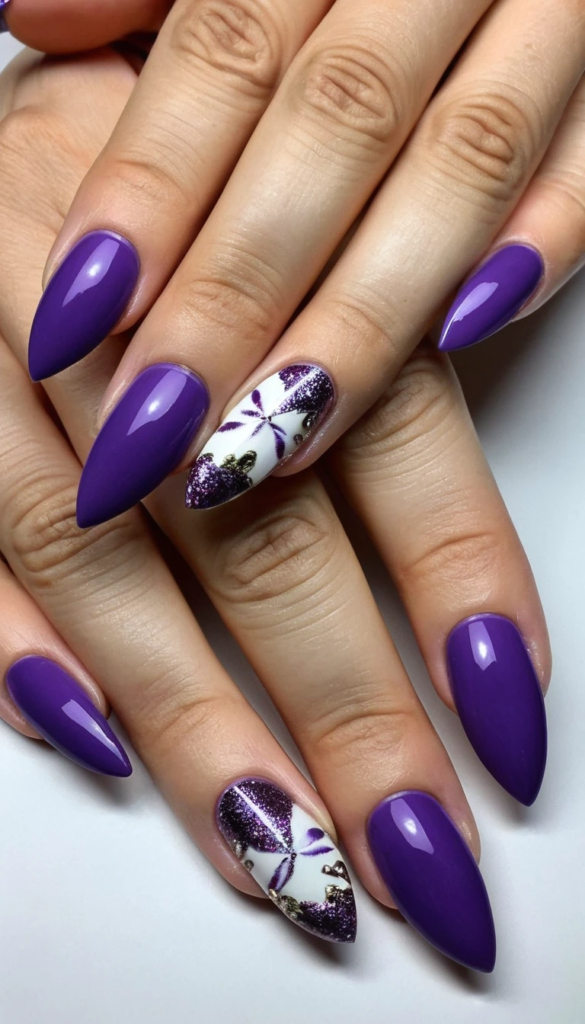
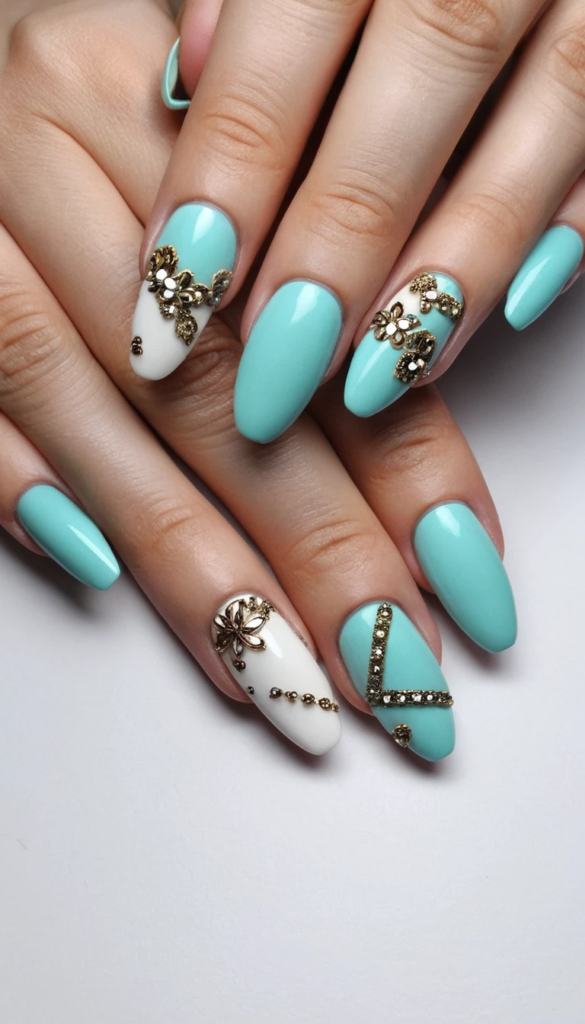
Nail design ideas are a creative way to express personal style and elevate any look. From intricate nail art to simple yet chic designs, there are endless possibilities. Popular trends include minimalist designs with geometric shapes or negative space, vibrant abstract patterns, and soft ombré effects that blend colors seamlessly.
Seasonal designs, like floral patterns in spring or snowflakes in winter, offer fun and timely options. For those who enjoy a bold statement, metallics, gems, and even 3D accents add flair. Additionally, French tips, textured finishes like matte or velvet, and creative use of colors and decals can transform nails into small canvases of artistic expression. Whether for everyday wear or special occasions, nail design ideas allow individuals to experiment and have fun with their look.
Nail Design Ideas
1. French Manicure
A classic and timeless look with nude or pale pink nails and white tips. Elegant for any occasion.
2. Marble Nails
A sophisticated design featuring swirled patterns that mimic marble stone. Use light and dark shades for a striking effect.
3. Ombre Nails
A gradient effect where one color transitions smoothly into another, offering a subtle yet chic look.
4. Polka Dots
Tiny, playful dots of varying sizes in different colors, great for a fun, retro-inspired design.
5. Matte Nails
A matte finish for your nails instead of the usual glossy shine, offering a more modern and edgy aesthetic.
6. Animal Print Nails
Leopard, zebra, or snake print designs can be recreated with different colors for a bold statement.
7. Geometric Nails
Sharp lines, squares, or triangles in various colors or metallic finishes for a modern, edgy design.
8. Floral Nails
Delicate flowers painted on a nude or pastel background, perfect for spring and summer manicures.
9. Gold Leaf Nails
Real or faux gold leaf applied onto the nails for a glamorous and luxurious look.
10. Neon Nails
Vibrant neon colors that pop, perfect for a fun summer or festival vibe.
11. Watercolor Nails
A soft, blended color effect resembling watercolor paintings, perfect for a creative, artistic look.
12. Glitter Nails
A bit of sparkle can go a long way! Use glitter polish on your entire nail or as an accent.
13. Holiday-Themed Nails
Designs based on holidays like Christmas trees, pumpkins, or Easter eggs, depending on the season.
14. Heart Nails
Cute and romantic hearts painted on nails, perfect for Valentine’s Day or any love-filled occasion.
15. Rainbow Nails
A fun design using all the colors of the rainbow, great for brightening up your day!
16. Abstract Art Nails
Unique lines, shapes, and forms painted in bold colors, giving your nails an artsy, contemporary vibe.
17. Gradient Glitter Nails
Start with a neutral or solid color at the base, then add glitter gradually toward the tips for a shimmering gradient effect.
18. Christmas Nails
Snowflakes, red and green colors, and little holiday symbols make your nails festive for the season.
19. Polished Plaid
Plaid or tartan-inspired designs with contrasting lines and colors create a stylish and bold look.
20. Marble and Gold
Pair marble nails with gold foil accents to add a touch of sophistication to this elegant design.
21. Holographic Nails
Nails that reflect light in different colors depending on the angle, offering a unique and futuristic look.
22. Checkerboard Nails
Black and white or vibrant colors arranged in a checkerboard pattern for a bold, graphic design.
23. Minimalist Nails
Keep it simple with negative space, tiny geometric patterns, or tiny dots for a chic, low-maintenance look.
24. Silver Metallic Nails
Shiny silver metallic polish creates a futuristic and sleek design.
25. Tie-Dye Nails
A colorful, psychedelic design that mimics the tie-dye pattern on fabric, perfect for a fun and artsy look.
26. Camo Nails
Camouflage pattern created with muted shades of green, brown, and tan for a rugged, stylish appearance.
27. Polished Marble
Take your marble design to the next level with intricate lines and subtle color choices for a luxe look.
28. Ice Cream Nails
Bright pastel shades with swirls, sprinkles, and miniature ice cream cone designs, giving your nails a fun, whimsical vibe.
29. Galaxy Nails
Deep purple, blue, or black shades with glittery stars and splatters to mimic the beauty of the galaxy.
30. Metallic Ombre
A shimmering ombre effect using metallic shades such as gold, silver, or rose gold.
31. Feather Nails
Delicate feather designs painted on nails, giving them an ethereal, light feel.
32. Marble French Tips
Take the classic French manicure and give it a marble twist with soft swirls at the tips.
33. Fruity Nails
Lemon, strawberry, watermelon, and pineapple designs are perfect for summer-themed nails.
34. Bling Nails
Adorn your nails with rhinestones, gems, and other bling for a super-glam look.
35. Tropical Nails
Palm trees, coconuts, and vibrant tropical fruit designs create a fun summer-inspired look.
36. Crackle Nails
Nail polish that cracks as it dries, creating a cool, textured finish.
37. Polished Shell Nails
A unique design featuring soft, iridescent shell-inspired patterns for a beachy vibe.
38. Butterfly Nails
Add some colorful butterflies to your nails for a cute, nature-inspired design.
39. Swirls and Curves
Create swooping, swirling designs for a fun, abstract, and playful look.
40. Neon Tips
Bright neon tips paired with a neutral base for a twist on the classic French manicure.
41. Woodgrain Nails
Designs that mimic wood grain patterns, offering a rustic, nature-inspired touch.
42. Geometric Neon
Use sharp geometric shapes with neon colors for a bold and modern nail design.
43. Abstract Faces
Paint simple, minimalist abstract faces on your nails for an artistic touch.
44. Ocean-Inspired Nails
Use ocean colors like turquoise, blue, and sandy beige to create beachy or wave-inspired nails.
45. Gothic Nails
Dark colors like deep purple, black, and red with accents like silver chains or spikes for an edgy look.
46. Pastel Ombre
Light pastel shades fading into each other, creating a soft and feminine ombre look.
47. Gingham Nails
Small checkered patterns inspired by gingham fabric, perfect for a fresh and springy style.
48. Lace Nails
Delicate lace-like designs on the nails, giving a soft, vintage vibe.
49. Chevron Nails
Sharp V-shaped designs for a trendy, clean-cut nail look.
50. Zodiac Nails
Paint the zodiac signs or constellation patterns for a personalized and celestial-inspired design.
51. Lemonade Nails
Yellow, pink, and orange hues combined to represent a refreshing lemonade design.
52. Sunset Nails
Warm orange, pink, and purple colors blended together to create a stunning sunset-inspired look.
53. Marble with Gold Accents
Classic marble design enhanced with gold foil for a touch of luxury.
54. Tie-Dye Pastels
A pastel twist on the classic tie-dye design, softening the boldness for a calmer, cooler effect.
55. Rhinestone French Tips
A sparkling twist on the French manicure with rhinestone accents at the tips.
56. Animal Paw Prints
Cute and playful animal paw prints scattered across nails for an adorable design.
57. Vintage Floral
A throwback to vintage floral designs using muted colors and intricate flower patterns.
58. Hot Pink and Gold
A hot pink base with gold details, creating a bold and glamorous contrast.
59. Pink and White Ombre
A soft and feminine ombre design using various shades of pink and white.
60. Citrus Slice Nails
Bright citrus fruit designs like lemons, oranges, or grapefruits for a fresh, fruity look.
61. Lace and Rhinestones
Lace patterns combined with rhinestones for a delicate yet glamorous look.
62. Mosaic Nails
Colorful mosaic patterns for a bold and geometric look.
63. Painted Paisleys
Classic paisley designs painted in bold or pastel colors for a chic, boho vibe.
64. Wine Stain Nails
Rich wine or burgundy shades that resemble wine stains, perfect for fall or elegant events.
65. Frosted Tips
Icy tips with a frosted effect, adding a wintery vibe to your nails.
66. Sculpted Nails
Nails shaped into 3D forms like flowers, hearts, or even abstract shapes for a high-fashion look.
67. Abstract Art
Messy but beautiful splashes of color and brush strokes for a modern, artistic design.
68. Spring Blossom Nails
Flowers, petals, and soft pastel colors to celebrate the arrival of spring.
69. Glitter Gradient
A gradient effect using glitter, fading from full coverage at the base to a light dusting at the tips.
70. Nude Nails with Metallic Accents
Soft nude polish paired with metallic stripes, dots, or lines for a sophisticated yet chic design.
71. Herringbone Nails
Geometric chevron patterns using contrasting colors for a trendy look.
72. Stained Glass Nails
Colorful sections of translucent polish that mimic stained glass windows.
73. Abstract Watercolor
Soft pastel watercolor designs, combining fluid paint strokes for an artistic design.
74. Fish Scale Nails
Fish scale patterns using iridescent or holographic polish for a mermaid-inspired look.
75. Cotton Candy Nails
Soft pink, blue, and lavender shades, blending together for a dreamy cotton candy effect.
76. Galaxy Marble
A mix of galaxy-inspired polish combined with marble for an otherworldly effect.
77. Gold Accent Nails
Combine matte or glossy polish with gold foil accents for a high-end, glamorous look.
78. Mermaid Nails
Shimmering, iridescent scales or mermaid-inspired designs that catch the light beautifully.
79. Spider Web Nails
A spooky design featuring black nail polish with delicate spider webs, perfect for Halloween.
80. Pop Art Nails
Inspired by comic strips, these designs feature bold lines, bright colors, and fun sayings.
81. Flame Nails
Hot and fiery flames painted on your nails for a bold and edgy look.
82. Snowflake Nails
Winter-inspired designs featuring intricate snowflakes on a cool-toned base.
83. Hearts and Arrows
Drawn hearts and arrows for a sweet and romantic design.
84. Retro Stripes
Colorful, horizontal stripes inspired by retro designs, perfect for a vintage look.
85. Daisy Nails
Simple and delicate daisy flowers painted on a solid or pastel background.
86. Ocean Wave Nails
Shades of blue and white creating a wave pattern for a beachy, sea-inspired look.
87. Patchwork Nails
Combine different patterns and colors on each nail to create a patchwork effect.
88. Snow Ombre
A soft ombre from white into a soft pastel shade, perfect for a winter or holiday look.
89. Lavender and Grey
Soft lavender with accents of grey for a chic and subtle nail design.
90. Cactus Nails
Paint small cactus designs or desert landscapes for a Southwest-inspired look.
91. Tie-Dye Swirls
Use swirling tie-dye techniques to create psychedelic, colorful nails.
92. Polished Daisies
Simple yet elegant daisies painted in a minimalist design on a solid base color.
93. Black and White Abstract
Simple yet striking black and white designs featuring sharp lines and geometric shapes.
94. Dot and Line Nails
Geometric patterns using dots and lines for a clean yet artistic design.
95. Dotted Half Moon Nails
Add a dotted half-moon design at the base of each nail for a retro-inspired look.
96. Color Block Nails
Create sections of different colored nail polish for a bold and colorful design.
97. Cosmic Nails
Deep navy or purple nails with glitter accents to mimic the look of a starry sky.
98. Patchwork Floral
Floral designs mixed with other patterns like polka dots, stripes, or checks for a patchwork effect.
99. Gothic Rose Nails
Dark, dramatic roses with black and red tones, perfect for a gothic-inspired look.
100. Bold Stripes
Wide, bold stripes painted in contrasting colors for a statement look.
101. Neon Stripes
Bright neon stripes against a neutral base for a pop of color and edge.
102. Pink Leopard
Leopard print nails with pink undertones for a playful twist on the classic design.
This list offers a variety of creative and unique nail designs perfect for any season, style, or occasion.
How to Design Nails
Designing nails can be a creative and fun process, allowing you to experiment with various techniques, colors, and textures.
Step 1: Preparation
Before starting with nail design, ensure your nails are clean, healthy, and ready to hold polish.
- Remove Old Polish
Use a non-acetone nail polish remover to remove any old nail polish. - Trim and Shape Your Nails
Use a nail clipper or nail scissors to trim your nails to your desired length. File your nails with a nail file to shape them. Common shapes include square, round, almond, and stiletto. - Soak and Clean
Soak your hands in warm water for a few minutes to soften your cuticles. Afterward, gently push back your cuticles using a cuticle pusher. This creates a clean surface for applying nail polish. - Exfoliate and Moisturize
Exfoliate your hands and nails with a scrub or pumice stone to remove dead skin cells. Moisturize your hands and nails with a nourishing lotion or cuticle oil.
Step 2: Base Coat Application
Before you apply color, it’s essential to apply a base coat. The base coat helps protect your nails from staining and helps the color adhere better.
- Choose a Base Coat
Choose a transparent or strengthening base coat depending on your needs. For example, use a ridge-filling base coat if your nails have visible ridges. - Apply the Base Coat
Apply a thin layer of the base coat to each nail. Let it dry completely before moving on to the next step.
Step 3: Choosing the Color
Select a color or a combination of colors for your design. You can go for a simple look or something more intricate with multiple layers.
- Solid Color
If you’re using a single solid color, choose a polish that complements your outfit or mood. Popular colors include classic reds, pinks, nudes, and bold shades like neon or metallic. - Multiple Colors
If you want to mix colors (e.g., ombre or striped designs), select 2 or 3 colors that harmonize well together.
Step 4: Applying Color
Start by applying your first coat of nail polish.
- First Coat
Apply a thin, even layer of color starting from the base of the nail near the cuticle, moving upwards toward the tip. Avoid flooding the cuticle area with polish. Allow it to dry fully before applying a second coat. - Second Coat
Once the first coat is dry, apply a second coat for better opacity and an even finish. This also helps prevent streaks. - Clean Edges
Use a small brush dipped in nail polish remover to clean up the edges around your cuticles or any excess polish on the skin.
Step 5: Designing with Nail Art
This step is where you can get creative! You can add various designs, textures, or embellishments to your nails.
1. French Tips
- French Manicure is a classic, featuring a natural base color with white tips. To create French tips:
- Use tape to outline the tips of your nails or a French manicure guide strip.
- Apply the white polish to the tips.
- After the white polish dries, remove the tape, and apply a layer of top coat for shine.
2. Ombre Nails
- Ombre nails feature a gradient effect where colors blend seamlessly from one shade to another.
- Apply a base color to the entire nail.
- Use a sponge to dab a second color over the tips, and blend it towards the cuticle for a gradient effect.
- Blend and repeat the process until you achieve the desired ombre effect.
3. Glitter Nails
- Apply a layer of glitter polish on the tips or as an accent on one or two nails for extra sparkle.
- Alternatively, use loose glitter to sprinkle on the nails while the polish is still wet, and seal it with a clear top coat.
4. Stamping Nails
- Nail stamping allows you to create intricate designs without freehand painting.
- Use a stamping plate with designs of your choice.
- Apply nail polish to the plate, scrape off excess with a scraper, then press a stamper onto the plate to pick up the design.
- Transfer the design to your nails by gently pressing the stamper onto your nail.
5. Striping Tape Designs
- Use striping tape to create geometric designs like stripes, checkers, or diagonal patterns.
- Apply the tape in the desired design on your nails.
- Paint over the tape with a contrasting color.
- Remove the tape carefully once the polish is dry for clean lines.
6. Nail Art Stickers/Decals
- Nail stickers and decals are quick ways to add designs. Simply peel off the sticker and apply it to your nail, pressing it firmly.
7. Freehand Nail Art
- For more intricate designs like flowers, dots, hearts, or animal prints, use a fine-tipped nail art brush or dotting tool.
- Start by painting simple shapes with the brush or use the dotting tool to add polka dots or intricate designs.
- Build your designs step by step, allowing each layer to dry before proceeding to the next.
Step 6: Top Coat Application
Once your nail art design is complete, protect it with a top coat. This adds shine, smooths the surface, and ensures your design lasts longer.
- Apply Top Coat
Use a clear top coat and apply it evenly over the entire nail, avoiding the cuticle area. Make sure the top coat seals the edges of the nail to prevent chipping. - Drying
Allow your nails to dry completely. To speed up the drying process, you can use a quick-drying top coat or a drying spray.
Step 7: Finishing Touches
After the nails are dry, apply cuticle oil around the edges to moisturize your cuticles and skin. This step helps keep your nails healthy and shiny.
- Clean Up
Use a cotton swab dipped in nail polish remover to clean up any remaining polish on your skin or cuticles. - Maintain
Keep your nails hydrated by applying cuticle oil regularly to maintain their health and longevity.
Tips for Nail Design:
- Use Thin Layers: Apply your polish in thin layers to prevent streaks and bubbles.
- Patience is Key: Let each layer dry completely before applying the next to avoid smudging.
- Tools Matter: Invest in quality brushes, dotting tools, and stamper sets for more precise designs.
- Try Nail Art Pens: If you’re a beginner, nail art pens are great for drawing fine lines and designs easily.
By following these steps, you can create beautiful and unique nail designs, whether you prefer simple elegance or intricate patterns.

