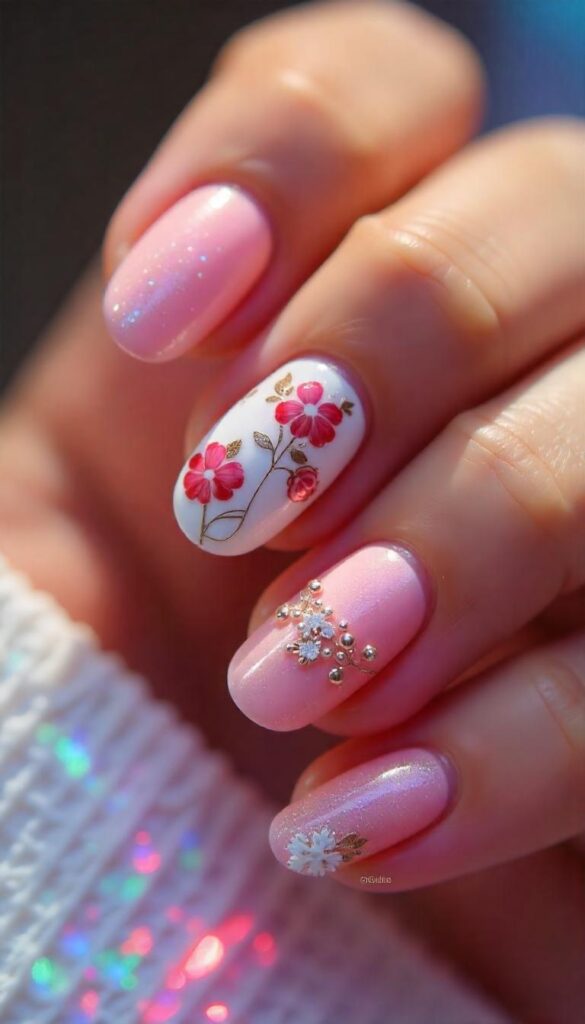
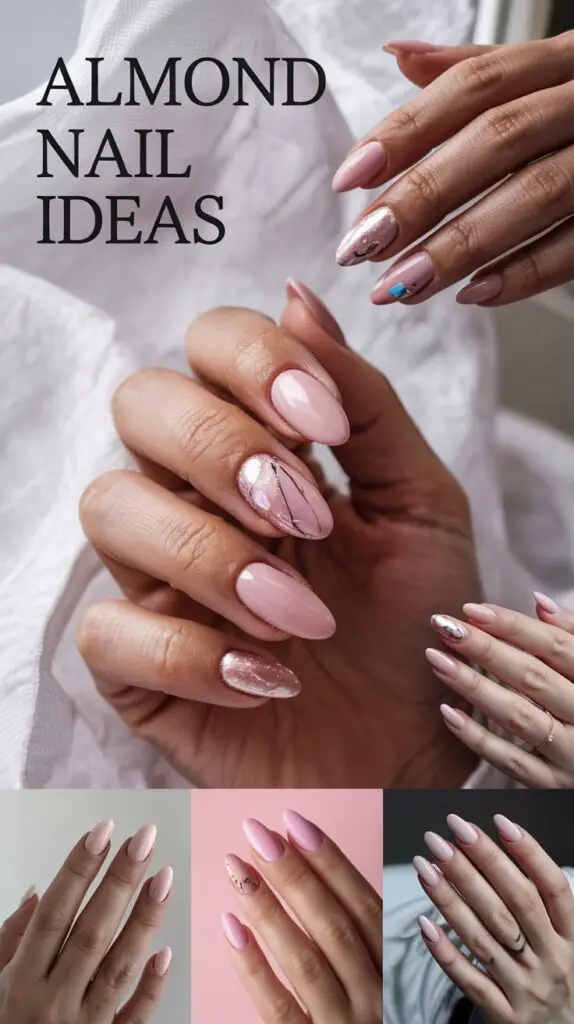
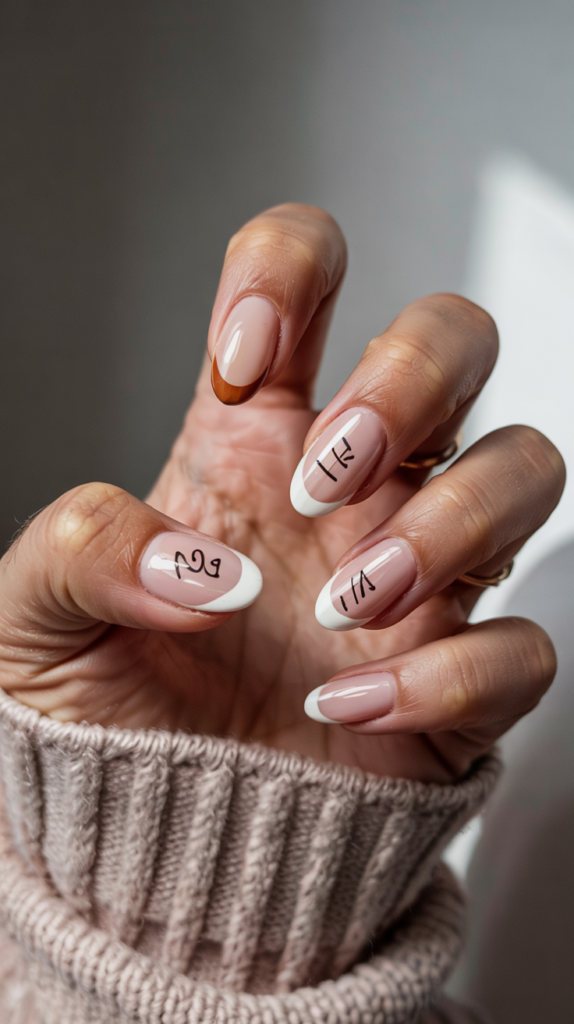
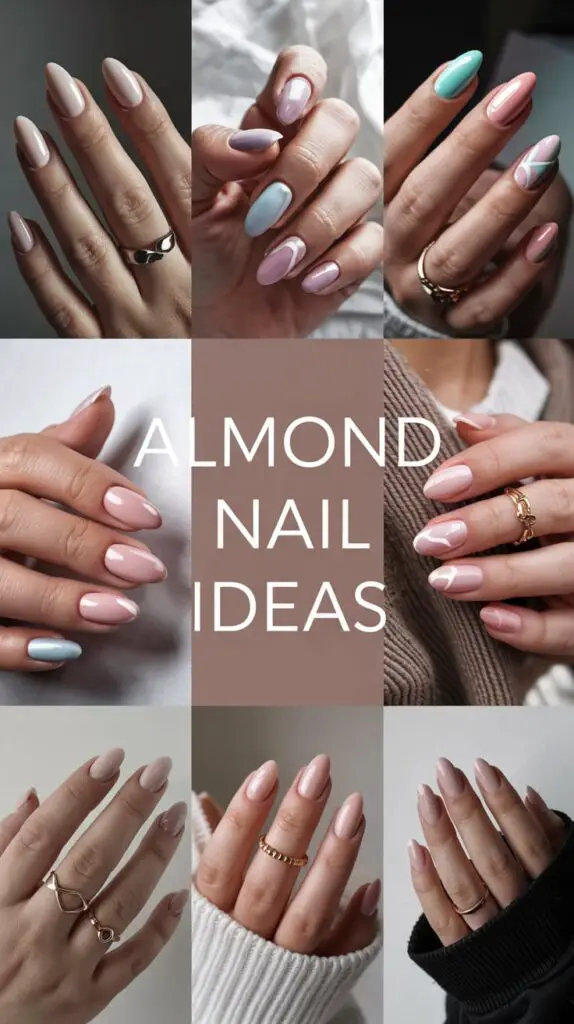
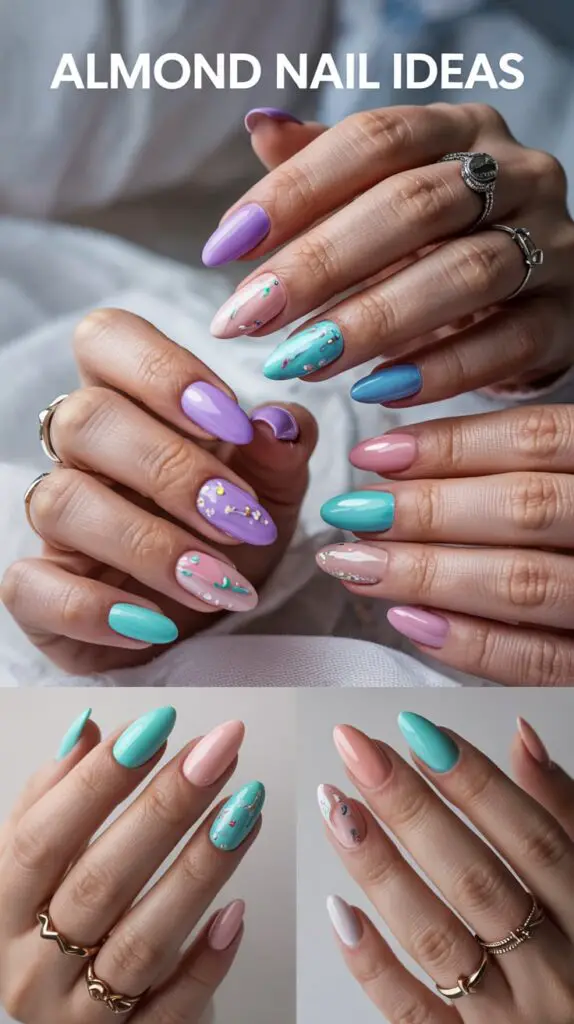
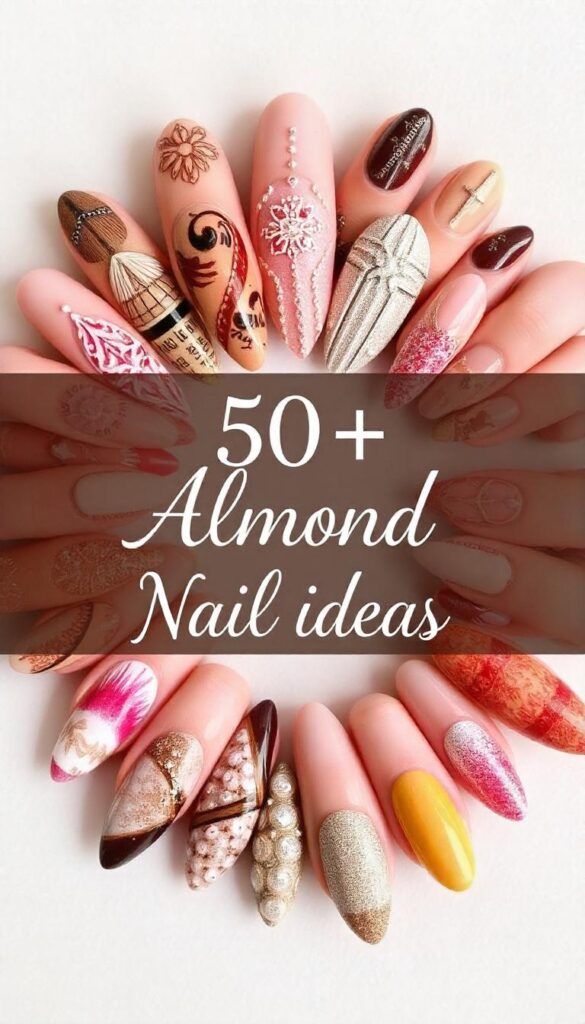
Almond Nail Ideas – Almond nails offer a chic and elegant shape, balancing style and practicality. Known for their subtle pointed tip and rounded sides, they elongate the fingers beautifully. This versatile nail shape complements various designs, including classic French tips, ombre gradients, intricate art, and glitter accents. Almond nails work well with both neutral and bold colors, making them perfect for any occasion, from casual looks to sophisticated events. They’re a popular choice for those seeking a timeless, fashionable nail aesthetic.
Almond Nail Ideas
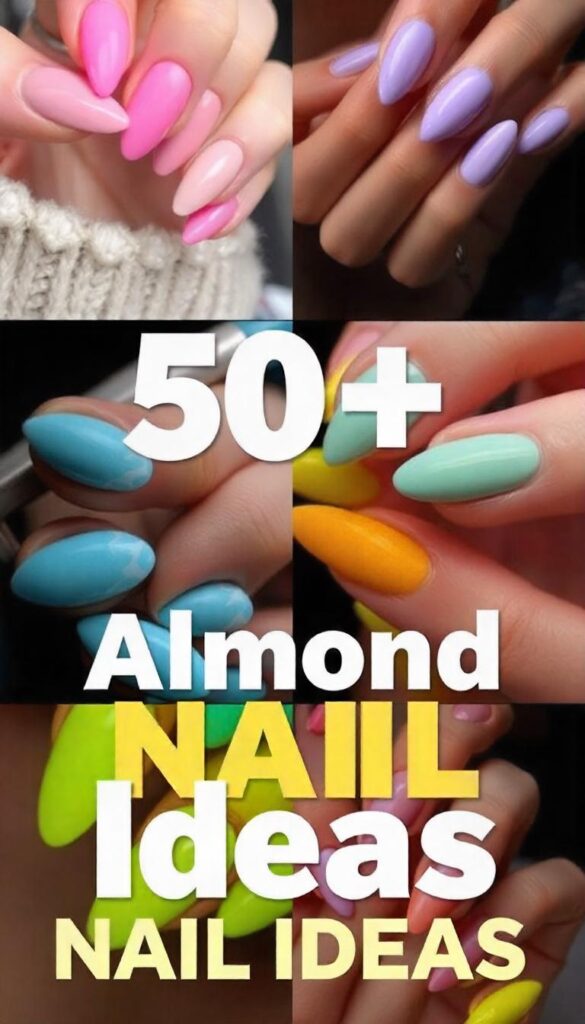
Here are 50+ stylish almond nail ideas to inspire your next look:
Solid Colors
- Pastel pink
- Classic red
- Matte black
- White elegance
- Metallic gold
- Silver shimmer
- Navy blue elegance
- Lavender chic
- Tangerine twist
- Teal trend
French Tips
- Classic white tips
- Colored French tips (pink, blue)
- Marble French tips
- Ombré French fade
- Metallic gold French tips
Gradient/Ombre
- Pink-to-white ombré
- Blue-to-purple ombré
- Black-to-clear gradient
- Sunset gradient (orange & yellow)
- Pastel rainbow ombré
Glitter & Sparkle
- Silver glitter tips
- Gold glitter accents
- Holographic glitter nails
- Pink glitter ombré
- Multicolored glitter streaks
Nail Art & Designs
- Minimalist line art
- Heart outline designs
- Polka dot accents
- Geometric patterns
- Abstract swirl designs
Floral & Nature
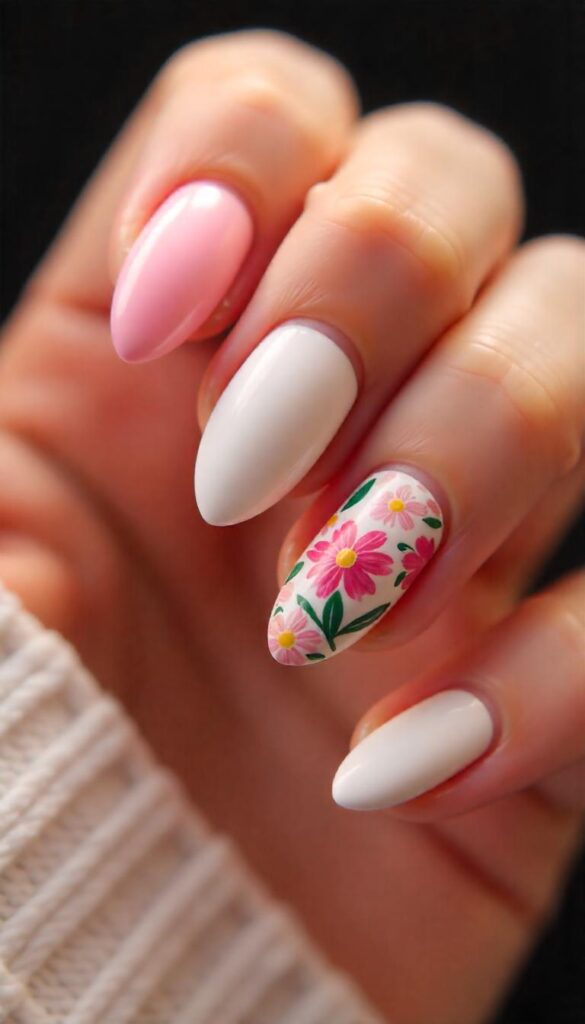
- Hand-painted roses
- Daisy nail art
- Leaf-inspired design
- Watercolor floral nails
- Wildflower accent nails
Marble & Textures
- Black-and-white marble
- Pink marble swirls
- Metallic marble effect
- Stone-inspired texture
- Sand effect texture
Negative Space Designs
- Clear almond tips
- Negative space geometric shapes
- Bare nail art outlines
- Creative cut-out shapes
- Lace-inspired negative space
Seasonal Ideas
- Holiday sparkle (Christmas)
- Halloween spooky accents
- Winter frost effect
- Spring pastel designs
- Summer beach-themed nails
Special Effects
- Chrome nails
- Foil accents
- Matte effect finish
- Jelly nail transparency
- 3D embellishments
Combination Styles
- Mix-and-match ombré designs
- Gradient + glitter combo
- French tips with floral accents
- Negative space + metallic tips
- Textured nails with rhinestones
These almond nail ideas offer a perfect blend of elegance, versatility, and creativity for any mood, occasion, or personal style preference! 🌸💅
How to Decorate Almond Nails
Here’s a step-by-step guide to decorating almond nails, which are known for their tapered, elegant shape resembling an almond. The process can be both fun and customizable to your style!
Materials Needed:
- Nail file
- Cuticle pusher
- Base coat
- Nail polish (colors of your choice)
- Top coat
- Nail art brushes (optional)
- Nail stickers/decals (optional)
- Dotting tools (optional)
- Glitter or rhinestones (optional)
Step 1: Prepare Your Nails
- Shape Your Nails: Start by filing your nails into an almond shape. Begin at the corners of the nails and file inward towards the center, aiming for a smooth, tapered point at the tip. You can use a nail file to achieve the desired shape.
- Push Back Cuticles: Use a cuticle pusher to gently push back the cuticles. This helps create a clean canvas for the nail polish.
Step 2: Apply a Base Coat
- Apply a thin layer of base coat to each nail. The base coat protects your natural nails from staining and helps the polish adhere better.
- Allow the base coat to dry for a few minutes before moving to the next step.
Step 3: Apply Nail Polish
- Choose Your Base Color: Apply the first layer of your chosen nail polish color. Depending on the opacity, you may need to apply a second coat for an even finish.
- Even Application: Start at the base of the nail near the cuticle and brush the polish toward the tip, ensuring the color is even.
- Let It Dry: Allow the base coat to dry completely before moving on to any design elements.
Step 4: Add Nail Art (Optional)
- Stripes/Patterns: You can use a nail art brush or striping tape to create horizontal, vertical, or diagonal lines on your nails. If you want a more intricate design, like chevron or geometric patterns, carefully place the striping tape and paint over it.
- Polka Dots: Use a dotting tool to create polka dots of any size. Pick a color that contrasts with your base and carefully place dots all over the nail.
- Nail Stickers/Decals: If you prefer something quicker, nail stickers or decals are a great option. Apply them after the base coat dries and then seal them with a top coat to prevent peeling.
- Glitter and Rhinestones: For extra glam, apply glitter or rhinestones on one or two nails. Use a top coat to place the glitter evenly across the nail or glue rhinestones near the cuticle or along the tip for a chic look.
Step 5: Apply Top Coat
- After your design has dried, apply a top coat to seal everything in. This helps the design last longer and gives a shiny, polished finish.
- Ensure the top coat covers the entire nail, including the tips, to prevent chipping.
Step 6: Clean Up
- Use a small brush or a cotton swab dipped in nail polish remover to clean any excess polish around your cuticles or skin.
- Let everything dry completely before using your hands, and enjoy your beautifully decorated almond nails!
Tips for Decorating Almond Nails:
- Color Combinations: Experiment with contrasting or complementary colors for a more unique look.
- Nail Stamping: If you’re looking for precision, use nail stamping kits to create intricate patterns or designs.
- Nail Art Pens: These are great for fine details like small designs or writing.
With practice, you can create endless designs and showcase your almond nails in the most stylish way!

Hi, I’m Maggie Culp, the founder of PartyVibesFun.com, based in North Little Rock, Arkansas, United States! With a passion for creating unforgettable celebrations, I specialize in turning any event into a fun and vibrant experience. From birthday parties to themed gatherings, I’m here to help you bring your party ideas to life with ease and excitement. Whether you’re looking for unique games, creative themes, or party planning tips, I’m dedicated to making sure every moment of your event is filled with joy. Let’s create memories together and make your next party the talk of the town!

