
Kids and adults alike enjoy experimenting with different colors and techniques to create unique, personalized items. Rainbow Loom projects also help develop fine motor skills, creativity, and patience. Whether you’re crafting a simple friendship bracelet or a complex multi-layered design, the possibilities for fun and expression are limitless with Rainbow Loom.
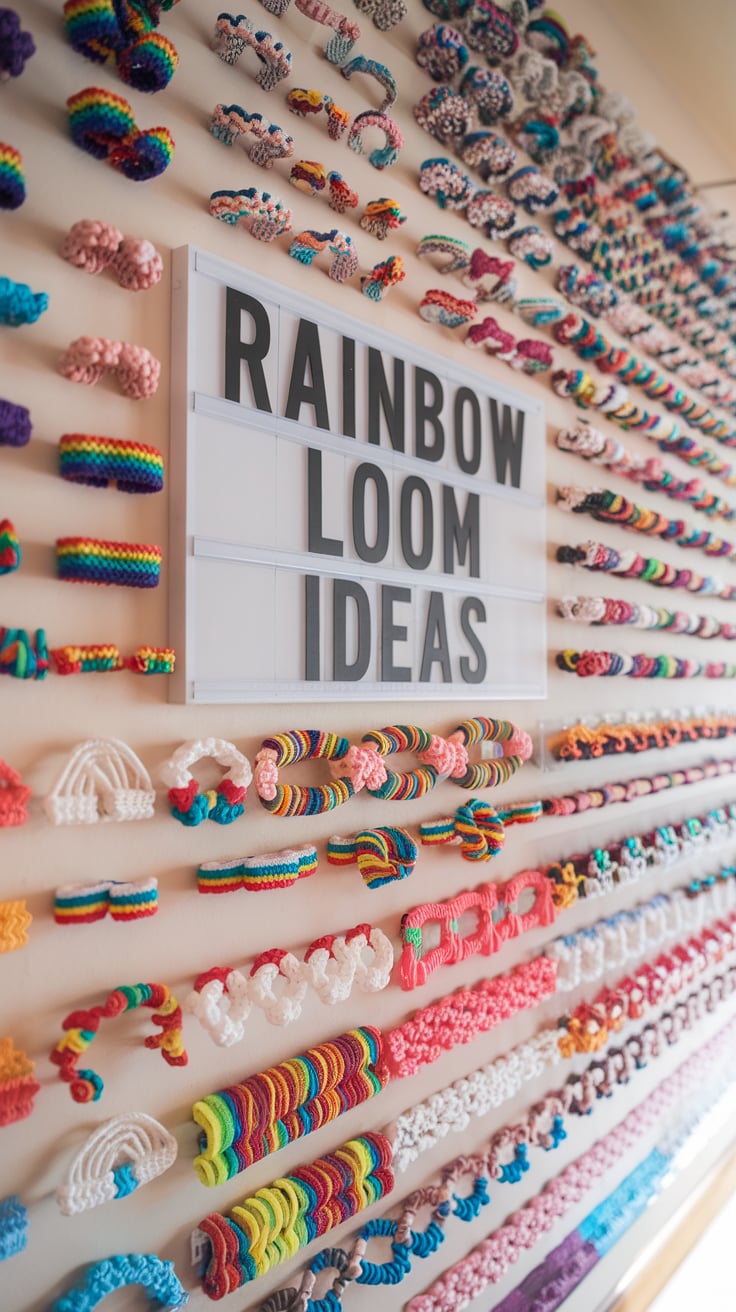
Rainbow Loom Ideas
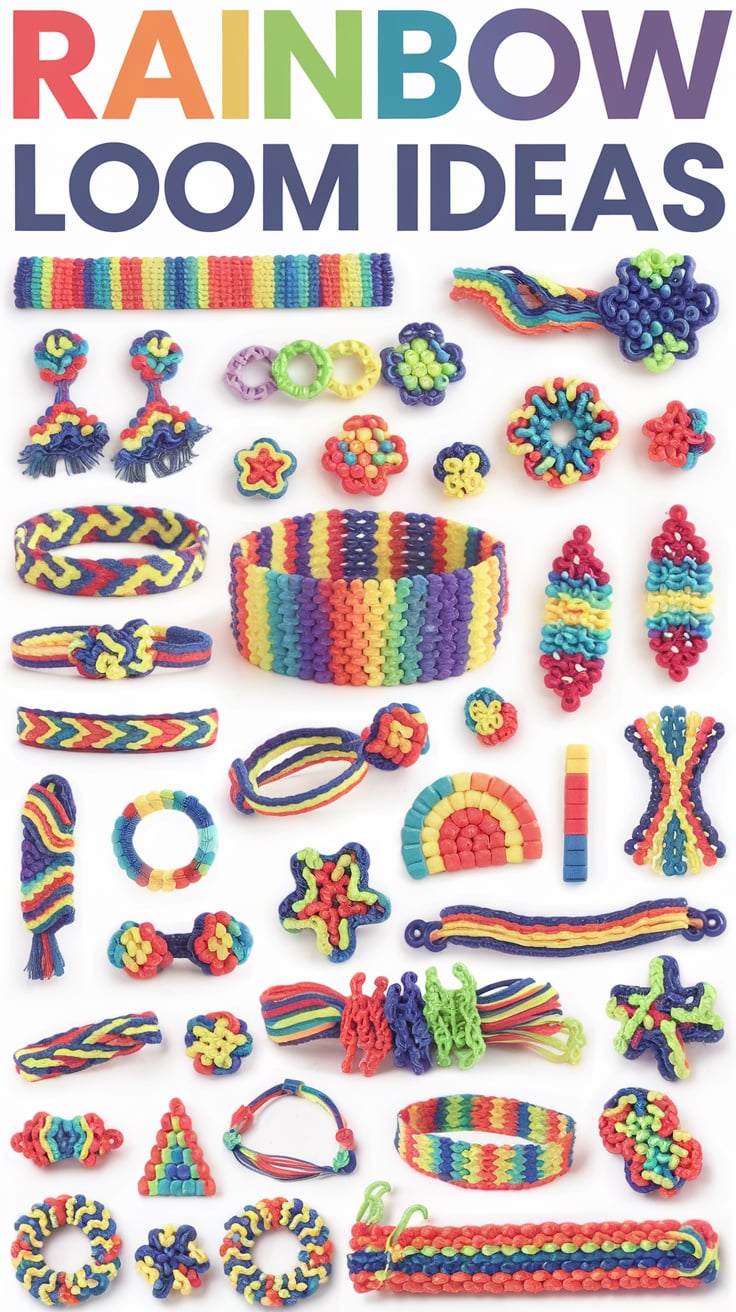
Here is a list of 100+ Rainbow Loom ideas that you can create with your Rainbow Loom kit, ranging from simple designs to more complex ones:
- Fishtail Bracelet
- Zigzag Bracelet
- Starburst Bracelet
- Chevron Bracelet
- Diamond Bracelet
- Lace Bracelet
- Single Chain Bracelet
- Triple Single Bracelet
- Double Fishtail Bracelet
- Triple Fishtail Bracelet
- Reverse Fishtail Bracelet
- Box Stitch Bracelet
- Double C-S Clip Bracelet
- Rainbow Loom Ring
- Heart Charm
- Butterfly Charm
- Flower Charm
- Snowman Charm
- Star Charm
- Zebra Stripe Bracelet
- Twisted Bracelet
- Rubber Band Necklace
- Infinity Bracelet
- Ladder Bracelet
- Dragon Scale Bracelet
- Candy Cane Charm
- Fish Charm
- Owl Charm
- Horse Charm
- Dinosaur Charm
- Cross Bracelet
- Mermaid Tail Charm
- Braided Rainbow Loom Bracelet
- Leaf Charm
- Spider Charm
- Keychain Holder
- Rainbow Loom Wallet
- Rainbow Loom Purse
- Chain Link Bracelet
- Ribbon Bracelet
- Baby Booties
- Heart Ring
- Poodle Charm
- Owl Ring
- Penguin Charm
- Santa Hat Charm
- Rainbow Loom Bow
- Flower Headband
- American Flag Bracelet
- Custom Initial Bracelet
- Cactus Charm
- Cupcake Charm
- Pineapple Charm
- Anchor Bracelet
- Basketball Bracelet
- Cherry Charm
- Rocket Charm
- Bird Charm
- Star Wars Charm (e.g., Yoda or Stormtrooper)
- Christmas Tree Charm
- Gingerbread Man Charm
- Ice Cream Cone Charm
- Unicorn Charm
- Rainbow Loom Ponytail Holder
- Cloud Charm
- Firework Charm
- Ice Cream Sundae Charm
- Sunflower Bracelet
- Rainbow Loom Pouch
- Reindeer Charm
- Snowflake Bracelet
- Bumblebee Charm
- Watermelon Charm
- Basketball Keychain
- Baseball Bracelet
- Dreamcatcher Bracelet
- Unicorn Headband
- Monster Charm
- Love Knot Bracelet
- Ribbon Keychain
- Geometric Necklace
- Parrot Charm
- Whale Charm
- Cat Charm
- Rainbow Loom Purse Charm
- Birthday Hat Charm
- Ice Skate Charm
- Lightning Bolt Bracelet
- Apple Charm
- Tree Charm
- Monkey Keychain
- Lion Charm
- Easter Egg Charm
- Halloween Spider Web
- Valentine’s Day Heart Bracelet
- Graduation Tassel Keychain
- Flower Crown
- Lollipop Charm
- Crab Charm
- Space Rocket Bracelet
- Spooky Ghost Charm
- Cute Elephant Charm
- Waterfall Bracelet
- Bow Tie Keychain
- Rainbow Loom Spider Charm
- Cactus Ring
- Bracelet with Charms
- Treasure Chest Keychain
- Fish Scale Ring
- Ladybug Charm
- Halloween Pumpkin Charm
- Cherries Necklace
- Snowman Keychain
- Geometric Star Bracelet
- Poppy Flower Charm
- Chevron Zigzag Ring
- Rainbow Loom Car Keychain
- Jellyfish Charm
- Witch Hat Charm
- Santa Claus Bracelet
- Cupcake Necklace
- Panda Charm
- Customizable Zodiac Bracelet
- Lightning Bolt Ring
- Kittens Bracelet
- Panda Keychain
- Dragonfly Charm
- Sun Bracelet
- Pirate Keychain
- Cat Ears Hairband
These ideas can be made with different colors and combinations of rubber bands, allowing you to express your creativity in endless ways!
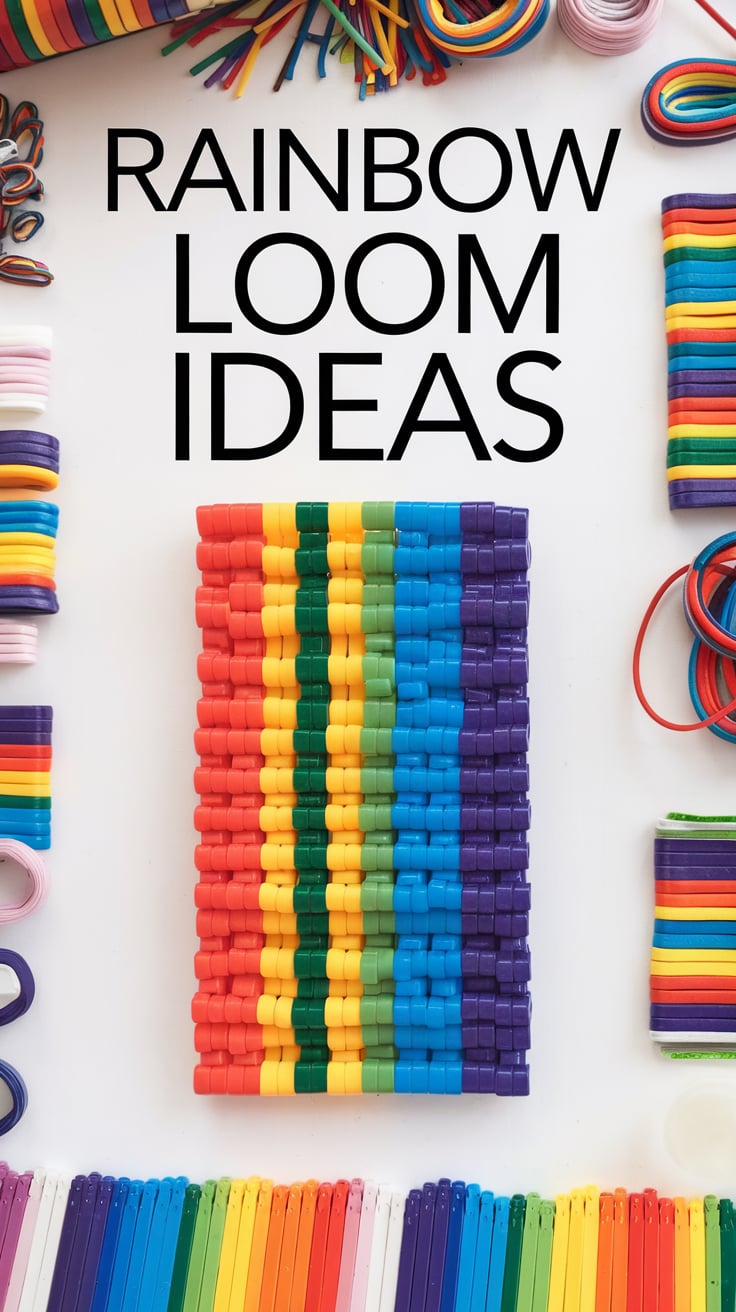
How to Make Rainbow Loom
Creating a Rainbow Loom project step by step can vary depending on the type of design you’re making. Here’s how you can make a Rainbow Loom Fishtail Bracelet:
Materials Needed:
- Rainbow Loom kit (includes the loom, hooks, and rubber bands)
- Rubber Bands (in various colors)
- Loom (the plastic board with pegs)
- Hook (provided in the kit for weaving the bands)
- C-Clip or S-Clip (to secure the bracelet at the end)
Step-by-Step Instructions for Fishtail Bracelet:
1. Setting Up the Loom
- Place your loom horizontally in front of you with the pegs facing upwards. You want the arrows on the side of the loom to be pointing towards you.
2. Placing the First Rubber Band
- Pick your first rubber band and stretch it across the first two pegs, forming a diagonal line.
- Continue this process for each consecutive pair of pegs, creating a diagonal pattern, until you’ve covered all the pegs.
- For example, the first rubber band should be stretched from the peg on the far left to the peg next to it, then the second rubber band should be placed from the second peg to the third, and so on.
3. Adding the Second Layer
- Pick a different color of rubber band for the second layer.
- Starting with the first peg (on the left), stretch the new rubber band across the first peg and the second peg. Repeat the process with the remaining pegs. This should be done in the same direction as the first layer, not diagonally.
- You should now have two layers of rubber bands on the loom – one diagonal and one straight.
4. Adding More Rubber Bands (Repeat the Process)
- Continue to alternate between placing diagonal bands for the first layer and horizontal bands for the second layer until you reach the end of the loom.
- You can continue adding bands in alternating colors for each layer, creating the rainbow effect.
5. Weaving the Bands
- Once you’ve placed all the rubber bands, it’s time to start weaving. Take your hook (the small tool that comes with your Rainbow Loom kit).
- Starting from the bottom of the loom, use the hook to grab the bottom rubber band from the first peg and pull it up and over the peg. Do this with all the pegs along the loom.
- After pulling up and over the bottom rubber band on each peg, continue this process with each layer until the last band is pulled over and all the rubber bands are woven together.
6. Finishing the Bracelet
- Now that your bracelet is woven together, it’s time to remove it from the loom.
- Carefully slide the bracelet off the loom by gently pulling the bands away from the pegs.
7. Adding the C-Clip or S-Clip
- Once the bracelet is off the loom, you need to secure it.
- Take a C-Clip or S-Clip and attach it to the loose rubber bands on each end of the bracelet.
- If you’re using a C-clip, simply open it and hook it onto the bands on each end of the bracelet to secure it.
8. Enjoy Your Bracelet
- Once secured, your Fishtail Bracelet is complete!
- You can try other designs by changing the patterns and colors, or experiment with adding charms, beads, or other decorations to your Rainbow Loom creations.
Tips for Success:
- Tension: Make sure that you’re not stretching the rubber bands too tightly. Keeping a steady tension will help your bracelet look neat and uniform.
- Experiment with Colors: Don’t hesitate to use as many different colors as you want. You can even create patterns like stripes or a gradient effect by changing colors every few bands.
- Mix and Match Designs: Once you’re comfortable making a basic bracelet, you can try more complex designs, like the Zigzag Bracelet, Starburst, or Ladder Bracelet, following similar steps.
Now you’re ready to create your own colorful, unique Rainbow Loom designs!