
Canvas painting ideas offer endless creative possibilities for artists of all skill levels, from beginners to experienced painters. Whether you’re exploring abstract designs, serene landscapes, floral patterns, or modern geometric shapes, canvas provides a versatile surface for expression. Simple ideas like color-blocking, silhouette scenes, or inspirational quotes in bold lettering can make stunning wall art with minimal effort.
More advanced options might include textured painting with palette knives, mixed media collage, or detailed portraits. You can also draw inspiration from seasons, nature, or personal memories. With the right tools, colors, and a bit of imagination, canvas painting ideas can transform any blank space into a vibrant work of art.
Canvas Painting Ideas
Here’s a 100+ list of canvas painting ideas to inspire your creativity, whether you’re a beginner or an experienced artist. These ideas span a variety of styles, from abstract to realistic, offering endless possibilities to explore on canvas.
Nature-Inspired Canvas Painting Ideas
-
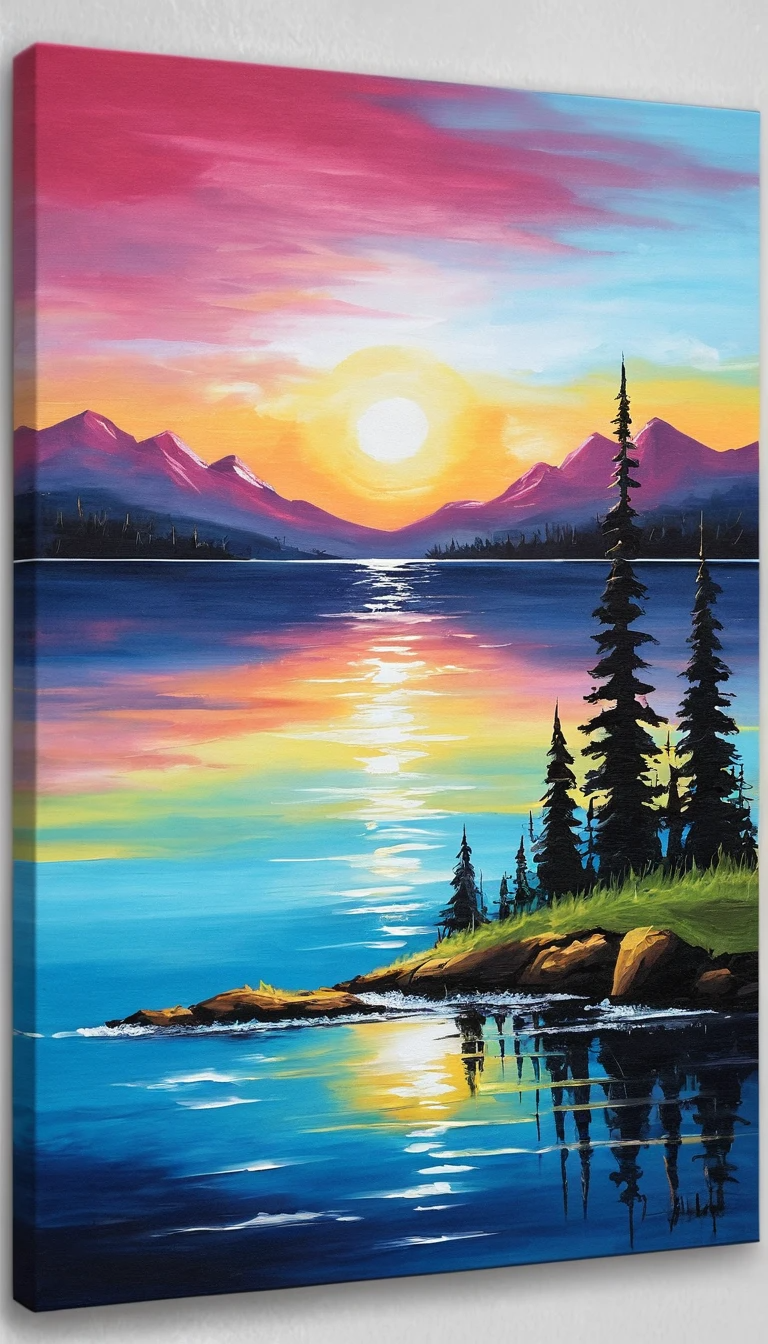
Sunset over the ocean
-
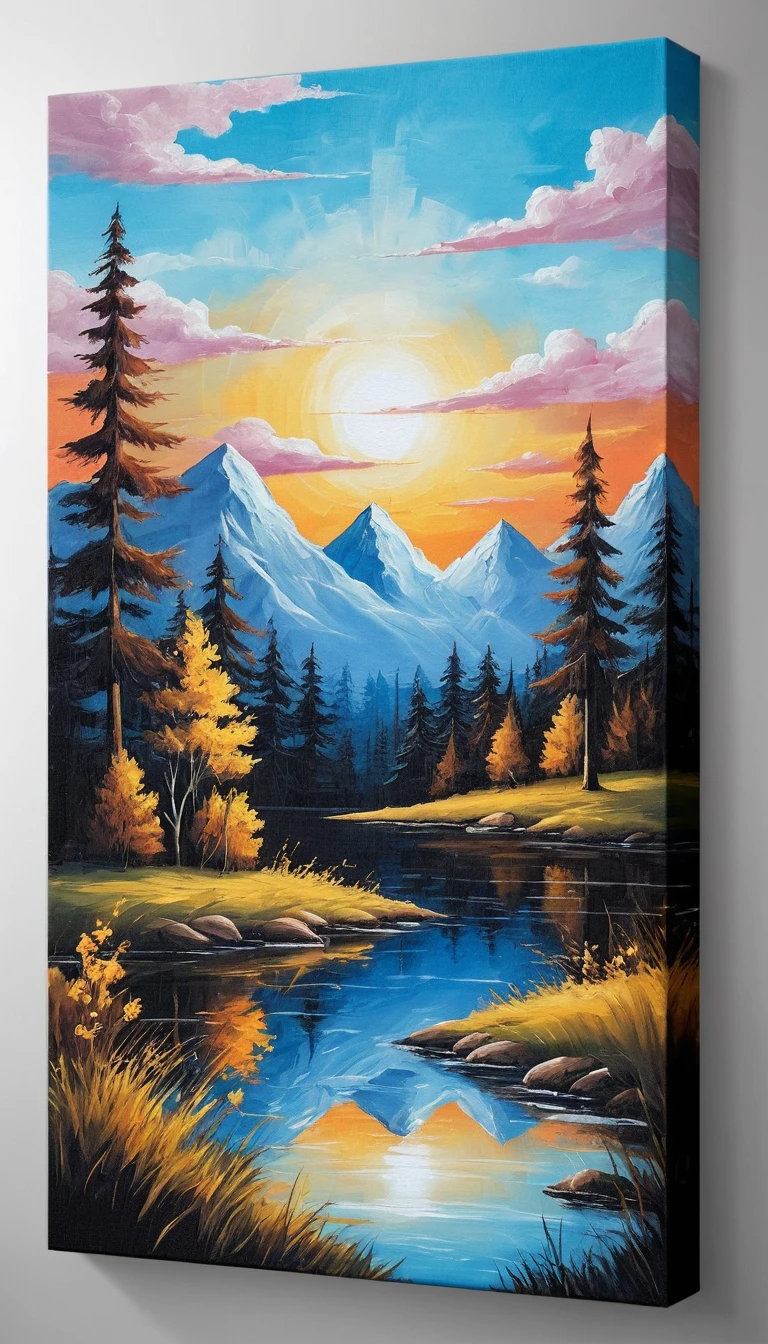
Majestic mountains with snow
-
A forest with sunlight streaming through trees
-
A field of blooming wildflowers
-
Tropical beach with palm trees
-
Night sky filled with stars and a crescent moon
-
A stormy ocean with crashing waves
-
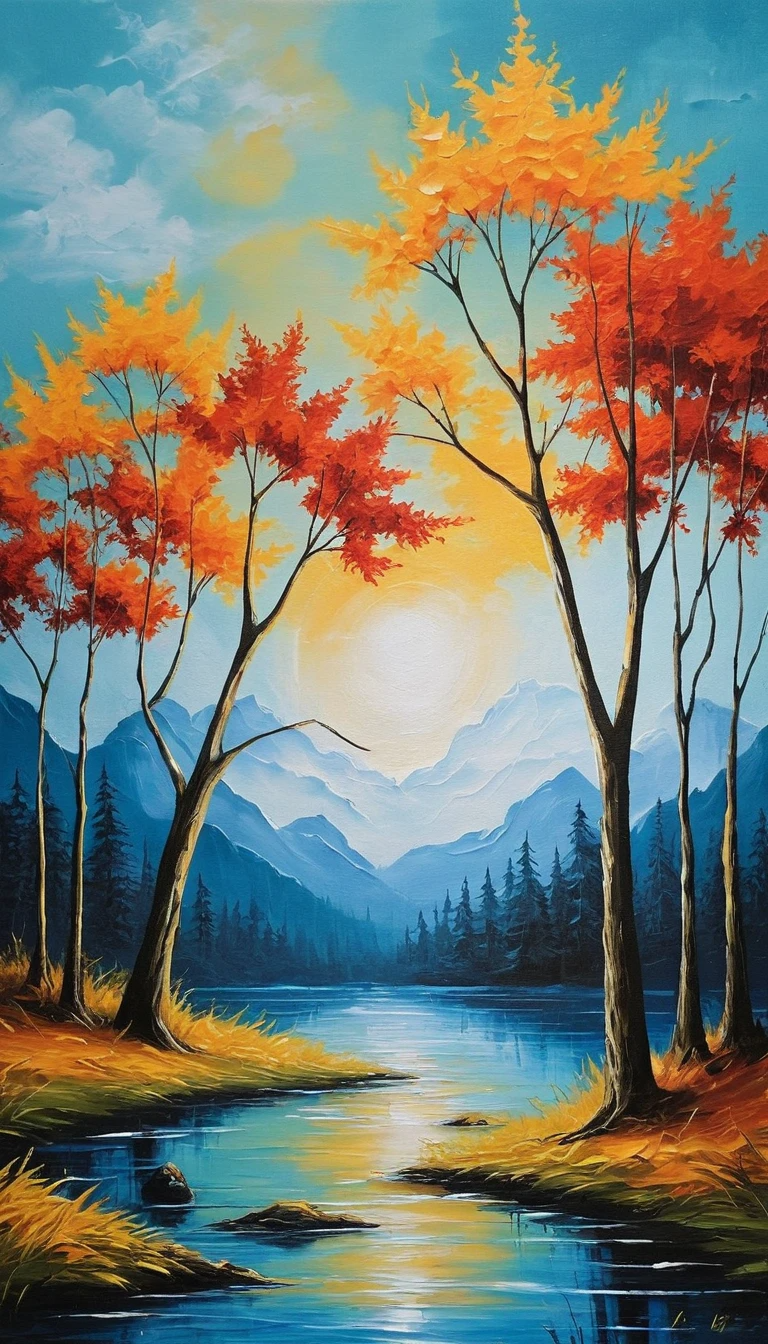
A colorful autumn landscape
-
Snow-capped peaks in a foggy morning
-
A desert scene with cacti and sand dunes
-
A peaceful lake with mountains in the background
-
A vibrant sunrise over rolling hills
-
A cascading waterfall in a lush green forest
-
A tree silhouette at sunset
-
A snowy winter street scene
-
Foggy morning with mist over a river
-
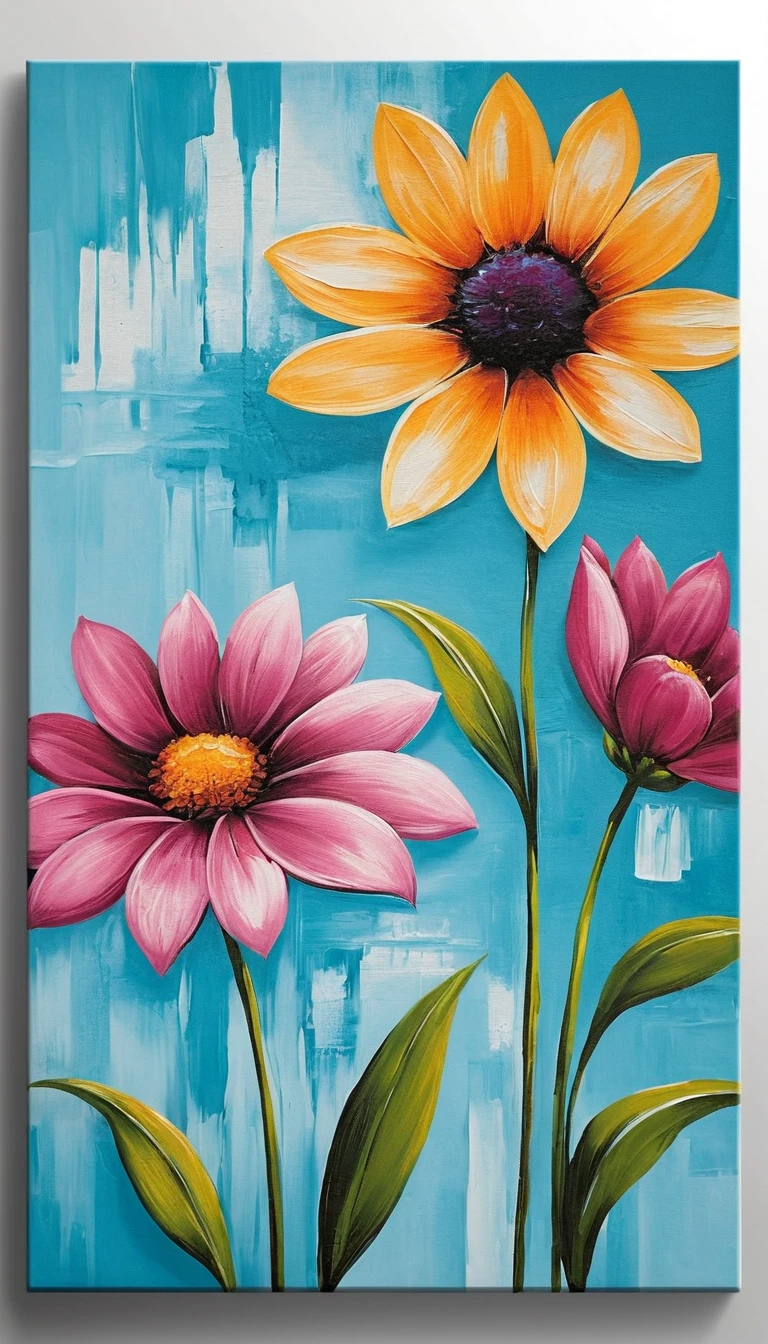
A close-up of a single flower, like a sunflower or lily
-
A garden with butterflies fluttering
-
Ocean waves gently hitting the shore
-
A tropical rainforest scene
-
A bird flying across the sky
-
An underwater coral reef
-
A lone tree in a wide open field
-
A mountain range reflecting in a crystal-clear lake
-
A close-up of dew drops on a leaf
Abstract and Geometric Canvas Painting Ideas
-
Geometric triangles with contrasting colors
-
Abstract splatter art using bold primary colors
-
Fluid acrylic pour painting with vibrant hues
-
Abstract waves and swirls of color
-
Color-blocking with sharp, defined lines
-
A minimalist design with simple shapes
-
Brushstroke abstract art
-
Bold, abstract patterns inspired by pop art
-
Abstract circles or concentric rings
-
Abstract landscape in muted tones
-
A gradient of colors blending across the canvas
-
Abstract floral shapes in a geometric pattern
-
Geometric shapes filled with gradients or metallic paints
-
Black-and-white minimal abstract
-
An ombre effect with various hues blending together
-
Abstract expressionism inspired by emotions
-
Geometric mountain range with soft colors
-
Abstract cityscape with bright neon colors
-
Abstract sun rays or starbursts
-
A combination of vertical and horizontal lines
-
A shape-filled composition with metallic accents
-
A colorful ink-blot abstract
-
Abstract representation of sound waves
-
A rainbow of dots scattered across the canvas
-
Splatter paint with neon and metallic colors
Floral and Botanical Canvas Painting Ideas
-
A bouquet of colorful roses
-
Watercolor-style flowers like tulips or daisies
-
A close-up of a single lotus flower
-
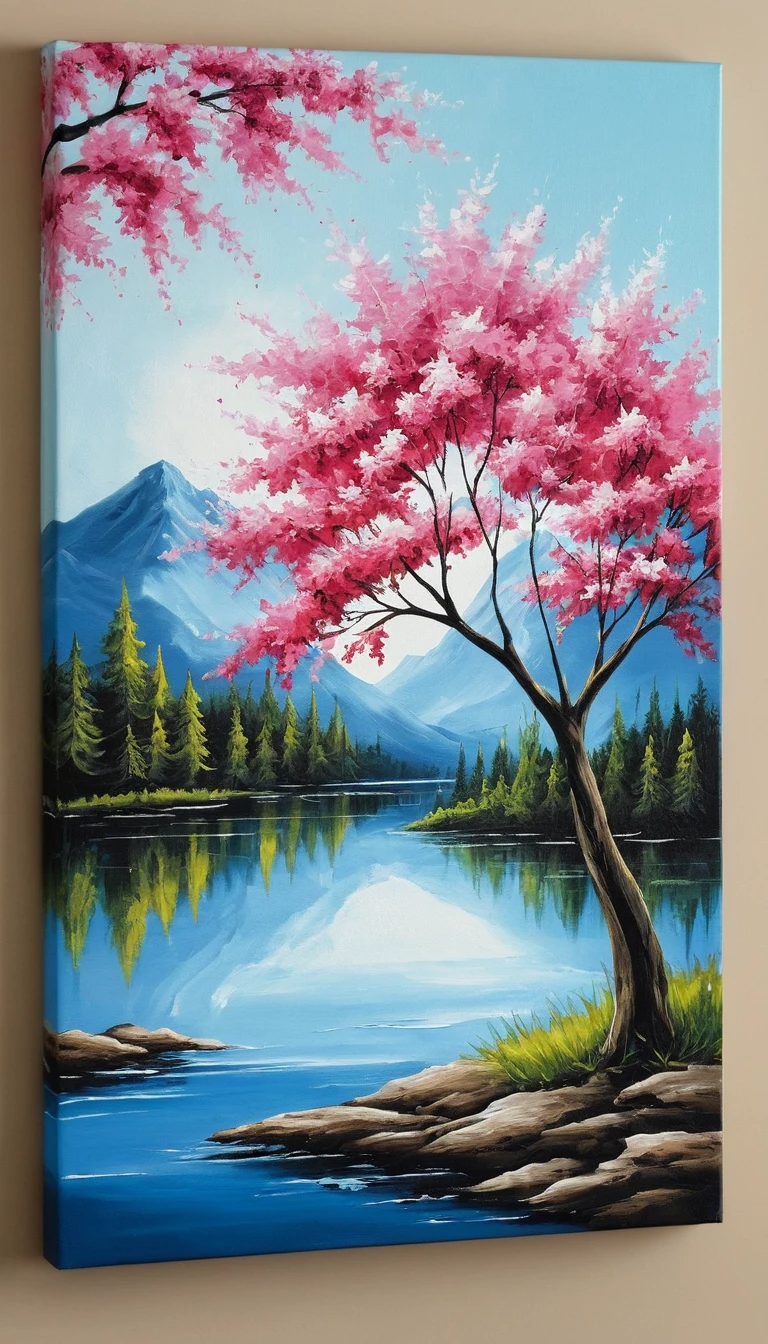
A branch of cherry blossoms in full bloom
-
Abstract floral patterns with vibrant colors
-
A mix of wildflowers in a meadow
-
Tropical flowers like hibiscus and plumeria
-
A sunflower field stretching into the horizon
-
A fern or ivy vine climbing the canvas
-
Lavender sprigs on a rustic background
-
A simple, minimalist flower in black and white
-
A floral wreath of your favorite flowers
-
Detailed roses or peonies in a soft pastel palette
-
A cluster of sunflowers with bees buzzing around
-
A single stem of a flower in monochrome
-
Leaves falling from a tree in autumn
-
A succulent garden in pastel shades
-
Abstract palm leaves in green hues
-
A botanical print with pressed flowers
-
Watercolor tropical plants and leaves
-
A bouquet of mixed garden flowers
-
A close-up of a blooming orchid
-
Lavender fields under a clear sky
-
Potted plants with geometric pots
-
A mix of cacti in a desert landscape
Animals and Wildlife Canvas Painting Ideas
-
A majestic lion with a golden mane
-
A close-up of a butterfly on a flower
-
A silhouette of a bird flying across the sky
-
A playful kitten with soft, fluffy fur
-
A lioness and cubs in the wild
-
A family of elephants walking across the savanna
-
An owl perched on a branch at night
-
A horse galloping through a field
-
A group of dolphins jumping in the ocean
-
A wise old owl with big eyes
-
A panda eating bamboo in the forest
-
A colorful parrot perched on a tree branch
-
A whale breaching in the ocean
-
A sea turtle swimming gracefully underwater
-
A fox sitting in a forest clearing
-
A peacock spreading its colorful feathers
-
A close-up of a hummingbird in flight
-
A wild wolf running through the snow
-
A polar bear and its cubs on ice floes
-
A group of flamingos standing in shallow water
-
A penguin waddling across ice
-
A butterfly resting on a leaf
-
A majestic stag in a foggy forest
-
A rabbit hopping through a meadow
-
A zebra standing in the savanna

Portraits and People Canvas Painting Ideas
-
A minimalist abstract portrait
-
A silhouette of a person against a sunset
-
A detailed portrait of a loved one
-
A couple dancing in the rain
-
A mother holding her child in her arms
-
A vintage-style portrait of a woman in a garden
-
A child playing in a puddle
-
A man sitting by a campfire
-
A series of faces using different colors and shapes
-
A profile portrait with bold brushstrokes
-
A dancer mid-twirl, captured in motion
-
A vintage-inspired 1920s woman in a flapper dress
-
A portrait of a famous historical figure
-
A person in a meditative yoga pose
-
A close-up of hands holding something precious
-
A couple walking hand-in-hand at sunset
-
A woman wearing a wide-brimmed hat
-
A person with their pet, captured in an intimate moment
-
A profile of a person in black-and-white
-
A self-portrait in an abstract style
Seasonal and Holiday Canvas Painting Ideas
-
A snowy winter scene with a cabin
-
A pumpkin patch in autumn
-
A Christmas tree with twinkling lights
-
A beach scene in summer with sand and surf
-
A cozy winter evening with a fireplace
-
A Fourth of July fireworks display
-
A spooky Halloween scene with haunted houses
-
A springtime garden full of blooming flowers
-
A New Year’s Eve celebration with champagne glasses
-
A snowy winter forest path
-
A Thanksgiving dinner spread
-
A Halloween jack-o’-lantern
-
A festive wreath for Christmas
-
A spooky full moon on a Halloween night
-
A warm autumn scene with falling leaves
-
A festive Easter egg hunt scene
-
A winter wonderland with snowflakes
-
A snowy street decorated with Christmas lights
-
A winter cabin surrounded by snow-covered trees
-
A Christmas ornament close-up
How to do Canvas Painting
Canvas painting is a rewarding creative activity that allows you to express yourself through art. Whether you’re a beginner or an experienced artist, the process can be broken down into easy-to-follow steps. Here’s a detailed guide to help you create a beautiful canvas painting from start to finish.
Step 1: Gather Your Materials
Before you start, you’ll need to gather the following materials:
Basic Materials:
-
Canvas: You can use a pre-stretched canvas or canvas board. Sizes vary depending on your preference.
-
Acrylic or Oil Paints: Acrylics dry faster and are easier to clean, while oil paints take longer to dry and require solvents.
-
Paint Brushes: Different shapes and sizes, including flat, round, and filbert brushes, will allow for different techniques.
-
Palette: A flat surface to mix your paints.
-
Palette Knife: Optional, for mixing paints or creating texture.
-
Water or Solvent: For acrylics, water is used to dilute the paint. For oils, you’ll need a solvent like turpentine or linseed oil.
-
Easel: Optional, but it’s a great way to position your canvas comfortably.
-
Rags or Paper Towels: For cleaning brushes and any accidental mess.
-
Pencil or Chalk: To sketch your design onto the canvas before painting.
-
Varnish (Optional): For finishing and protecting your painting once it’s complete.
Step 2: Set Up Your Workspace
Choose a clean, well-lit area to paint. You might want to lay down a plastic tablecloth or drop cloth to protect the surface. If you’re using an easel, set it up so your canvas is at eye level.
Step 3: Plan Your Painting
Before applying any paint, decide what you want to paint. Here are a few tips:
-
Choose Your Subject: You could paint a landscape, a portrait, still life, or abstract. Pick something that excites you.
-
Create a Composition: If you’re painting from life or a reference image, take note of the arrangement of elements and the balance of your composition.
-
Color Scheme: Plan out the color palette. If you’re unsure, look at the reference image and choose colors that will work well together.
Step 4: Sketch Your Design
Lightly sketch the design onto the canvas with a pencil or chalk. This step is important for setting up your composition and ensures the elements are in the right places. Keep your sketch light to avoid visible lines once the paint is applied.
Step 5: Apply a Base Layer (Optional)
If you’re using acrylic paints, you might want to apply a base layer (known as a wash) over the entire canvas. This step helps cover the white canvas and gives you a neutral starting point:
-
For acrylics, you can use a watered-down version of the main color or even a neutral color like light gray or beige.
-
For oils, you can apply a thin layer of oil paint to seal the canvas.
Step 6: Start Painting
Begin with the background or larger areas and work your way forward to the finer details. This prevents smudging and ensures your paint layers won’t be disturbed later on.
-
Acrylic Painting: Since acrylics dry quickly, start by applying the lightest colors first. Gradually build up the color layers, blending as you go. Acrylic paint is versatile, so feel free to experiment with texture and layering.
-
Oil Painting: Oil paints take longer to dry, so you have more time to blend colors and create smooth transitions. Start with the underpainting (a monochromatic sketch), then layer your colors.
Step 7: Work in Layers
Layering is a key aspect of both acrylic and oil painting. The process involves building up paint in multiple thin layers to create depth, texture, and vibrancy:
-
For Acrylics: Let each layer dry before applying the next one. Acrylics can be thinned with water or acrylic medium for a smoother finish.
-
For Oils: Use the fat over lean rule, meaning the final layers of paint should contain more oil than the under layers to prevent cracking as it dries.
Step 8: Add Details and Highlights
Once your larger areas are painted, it’s time to add the smaller details and highlights:
-
Fine Brushes: Use smaller brushes for detailed work like hair, facial features, textures, or intricate designs.
-
Blending and Shading: To create depth, use darker shades where shadows would naturally fall and lighter shades where light hits the object. Blend the colors together to avoid harsh lines.
-
Highlights: Add the finishing touch with highlights. For example, use a small, bright color for the areas that catch the most light.
Step 9: Let the Painting Dry
Once you’re satisfied with your painting, allow it to dry completely before making any changes. The drying time varies depending on the type of paint you’re using:
-
Acrylic Paints: Acrylics dry quickly, typically in 20 minutes to 1 hour, depending on the thickness of the paint.
-
Oil Paints: Oil paints take much longer, often several days to a week, to dry completely.
Step 10: Varnish Your Painting (Optional)
Once your painting is dry, you can protect it with a layer of varnish. This gives your painting a professional finish and protects it from dust, dirt, and UV damage:
-
For Acrylics: Use an acrylic varnish. You can choose between gloss, satin, or matte finishes depending on your desired effect.
-
For Oils: Wait until the painting is fully dry before applying varnish (this can take several months). Use an oil-based varnish for a glossy finish.
Step 11: Frame Your Painting (Optional)
Once your painting is finished and dry, consider framing it to enhance its appearance and protect the edges. Choose a frame that complements the colors and style of your artwork.
Additional Tips
-
Use Mediums: If you want different effects, try using mediums to alter the texture and finish of your paints. For example, an acrylic gel medium can make your paint thicker, while an oil glazing medium can create a smooth, glossy finish.
-
Experiment with Texture: Use palette knives, sponges, or your fingers to create different textures on the canvas, especially for abstract or landscape paintings.
-
Practice Patience: Don’t rush the process. Take your time with each step and allow each layer to dry properly before proceeding.