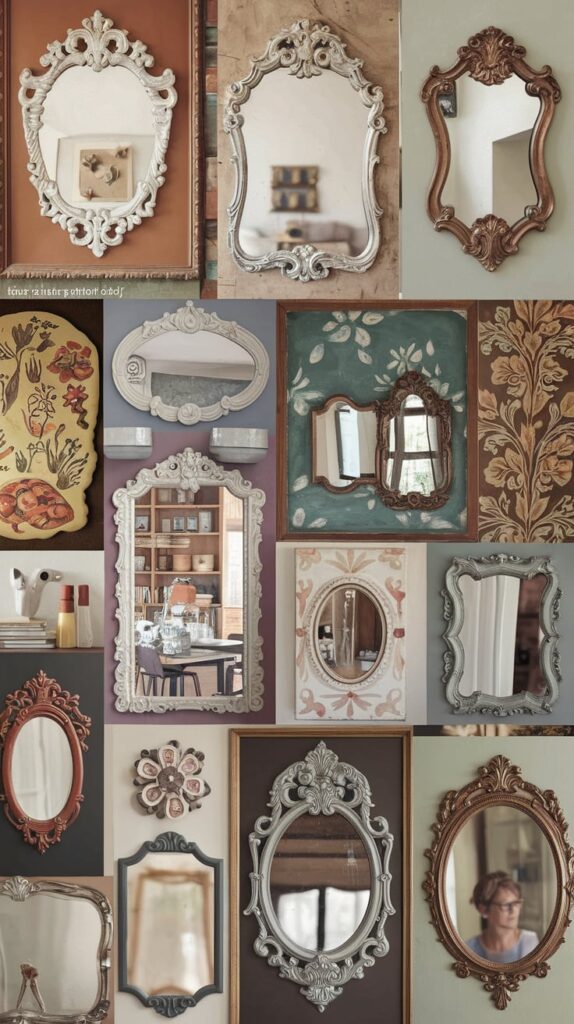
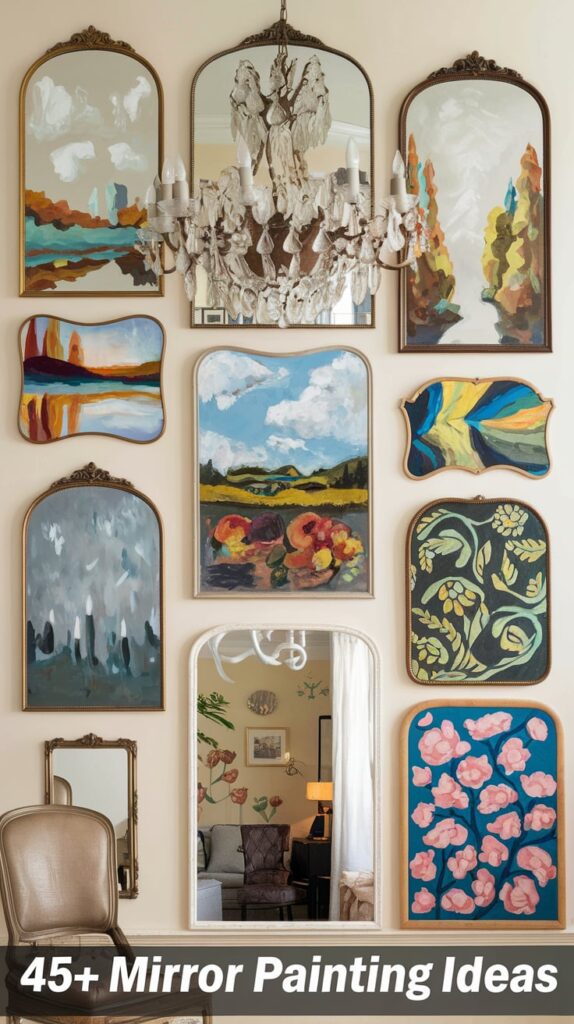
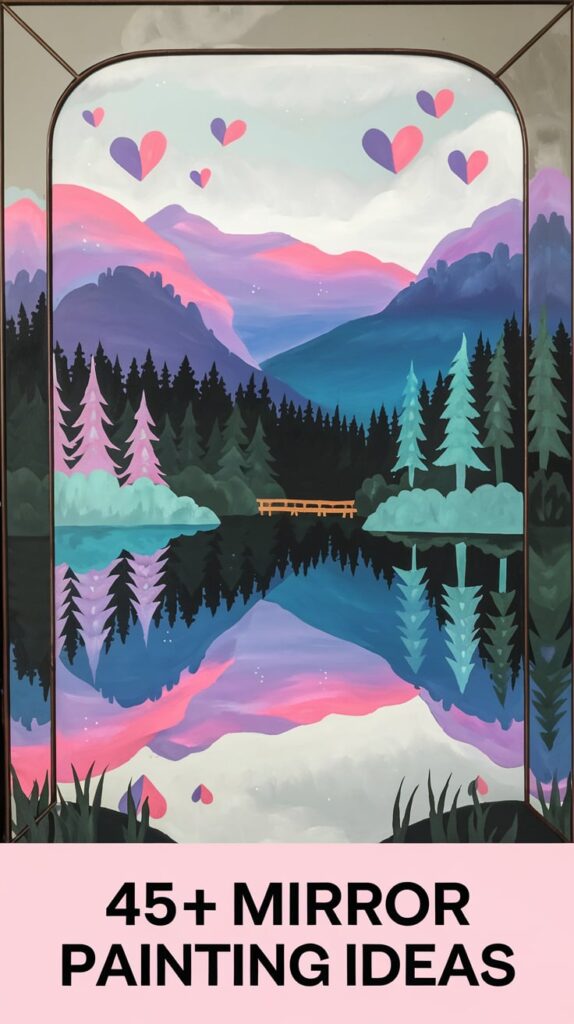
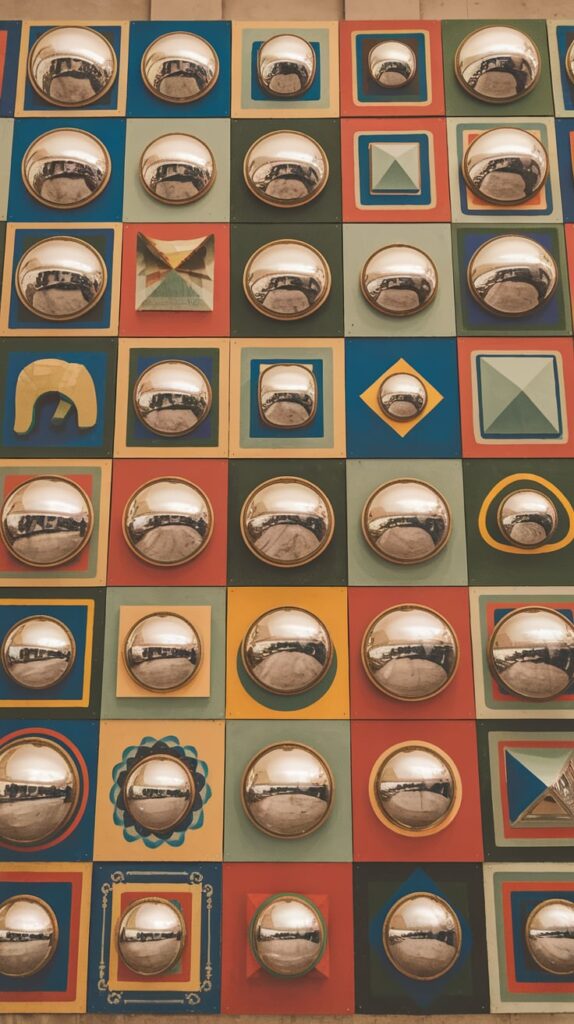
Mirror painting ideas offer a creative way to transform ordinary mirrors into stunning works of art. By adding vibrant colors, intricate patterns, or meaningful designs, you can turn a functional item into a unique piece of decor. Whether it’s a minimalist design with delicate brushstrokes, a bohemian-inspired floral pattern, or a bold geometric look, the possibilities are endless. These ideas are perfect for personalizing home spaces, gifts, or events.
Use acrylic paints, stencils, and markers to craft your masterpiece, and experiment with techniques like etching or reverse painting for added flair. Mirror painting is a fun and artistic way to reflect your personality and style!
Mirror Painting Ideas
Simple and Minimalist Designs
- Geometric patterns (triangles, squares, lines)
- Abstract color splashes
- Single-word motivational quotes (e.g., “Shine” or “Reflect”)
- Sunburst designs around the frame
- Delicate floral vines on corners
- Monochrome doodles
- Polka dots
- Gradient or ombre color effect
- Minimalist celestial designs (moons, stars, and constellations)
- Borderline decorative edging
Nature-Inspired Designs
- Blooming flowers (roses, daisies, or sunflowers)
- Tropical palm leaves
- Mountain landscapes
- Forest silhouettes
- Ocean waves and seashells
- Butterflies and dragonflies
- Birds on branches
- Rainbows and clouds
- Cacti and succulents
- Autumn leaves
Festive and Seasonal Designs
- Christmas trees or snowflakes
- Halloween-themed pumpkins or ghosts
- Valentine’s hearts and roses
- Easter eggs and bunnies
- Fireworks for New Year
- Spring blossoms
- Summery beach scenes
Inspirational and Motivational Designs
- Positive affirmations (e.g., “You Are Enough”)
- Daily reminders (e.g., “Smile Today!”)
- Inspirational quotes framed with floral designs
- Calligraphy with metallic paint
Artistic and Whimsical Designs
- Mandala art
- Galaxy or space themes (planets, shooting stars)
- Fairytale castles
- Whimsical trees with spirals
- Boho dreamcatchers
- Animal portraits (cats, dogs, or exotic animals)
Personalized Themes
- Name initials with ornate details
- Zodiac signs and constellations
- Hobbies (e.g., music notes for musicians, books for readers)
- Cultural patterns (tribal, henna, or paisley)
Modern and Abstract Ideas
- Splatter paint effects
- Metallic and holographic accents
- 3D illusions
- Broken glass mosaic effect
DIY Crafty Designs
- Chalkboard paint sections for notes
- Decoupage or collage painting
- Stencil art with crisp shapes
- Reverse glass painting
Frame and Border-Focused Designs
- Painted mirror frames with rustic, vintage, or modern finishes
- Golden or silver leaf accents on frames
These ideas cater to various skill levels and styles, allowing anyone to create personalized, artistic mirrors for home decor or gifting.
How to Do Mirror Painting: Step-by-Step Guide
List of Requirements
- Mirror – A clean and smooth surface mirror (any size or shape).
- Acrylic paints – Water-based paints are ideal for glass surfaces.
- Paintbrushes – A variety of sizes, including fine-tip brushes for details and larger ones for background.
- Painter’s tape – To mask areas you don’t want to paint.
- Palette – For mixing colors.
- Rubbing alcohol or glass cleaner – To clean the mirror surface.
- Cotton cloth or microfiber cloth – For cleaning and drying.
- Stencils (optional) – For creating precise patterns or shapes.
- Permanent markers – For sketching outlines.
- Sealant spray – To protect the painted surface (optional).
- Gloves – To avoid fingerprints on the mirror.
- Drop cloth or newspaper – To protect your workspace.
Step-by-Step Process
Step 1: Prepare the Mirror
- Clean the mirror thoroughly with rubbing alcohol or glass cleaner to remove dust, fingerprints, and grease.
- Dry it completely using a lint-free cloth.
Step 2: Plan the Design
- Decide on your design, such as patterns, quotes, or abstract art.
- Use stencils or sketch the design lightly on the mirror with a permanent marker.
- If you’re using freehand designs, practice on a piece of paper first.
Step 3: Mask the Areas
- Use painter’s tape to cover any areas you don’t want to paint, such as the edges or specific parts of the design.
- Ensure the tape is securely pressed down to avoid paint seeping under it.
Step 4: Begin Painting
- Background or Base Layer: Start with large areas or base colors if your design involves a background. Use larger brushes for smooth coverage.
- Details: Switch to fine-tip brushes for intricate details, outlines, or patterns.
- Paint slowly and steadily to avoid smudges or uneven strokes.
Step 5: Layer the Paint
- Let each layer dry completely before adding another to avoid blending or smudging.
- For a reverse painting effect, start with the details first and then add the background over them.
Step 6: Add Texture or Effects
- Use tools like sponges or toothpicks to create textures, gradients, or special effects.
- You can use metallic or glitter paints for added sparkle.
Step 7: Remove Tape and Clean Edges
- Once the paint has dried completely, gently remove the painter’s tape.
- Clean any stray paint marks with a damp cloth or rubbing alcohol.
Step 8: Seal the Painting
- If desired, spray a sealant over the painted areas to protect the design.
- Use a sealant specifically designed for glass or acrylic paint.
Step 9: Let It Dry
- Allow the mirror to dry completely for at least 24 hours before handling or mounting it.
- Ensure the mirror is kept in a dust-free environment during this time.
Step 10: Display Your Work
- Hang or place your mirror in a desired spot as a decorative piece.
- Avoid washing or scrubbing the painted areas to preserve the design.
By following these steps, you can create a unique, personalized mirror painting that adds charm to any space!


