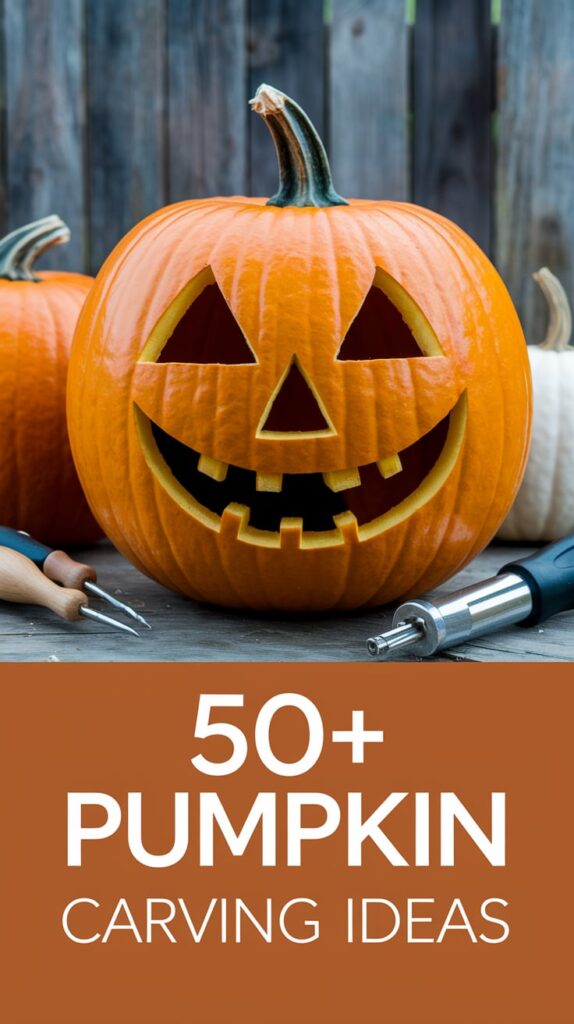
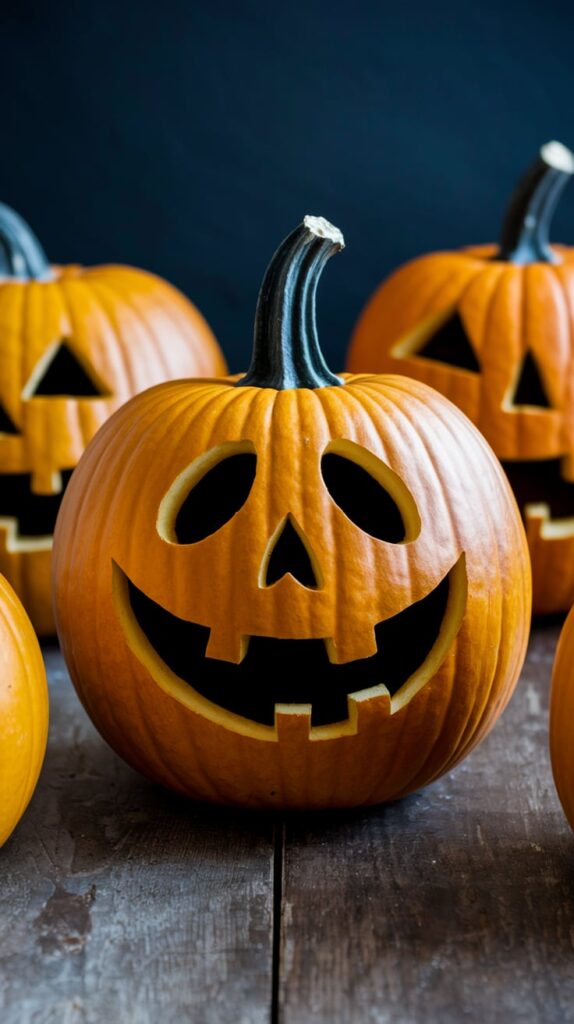
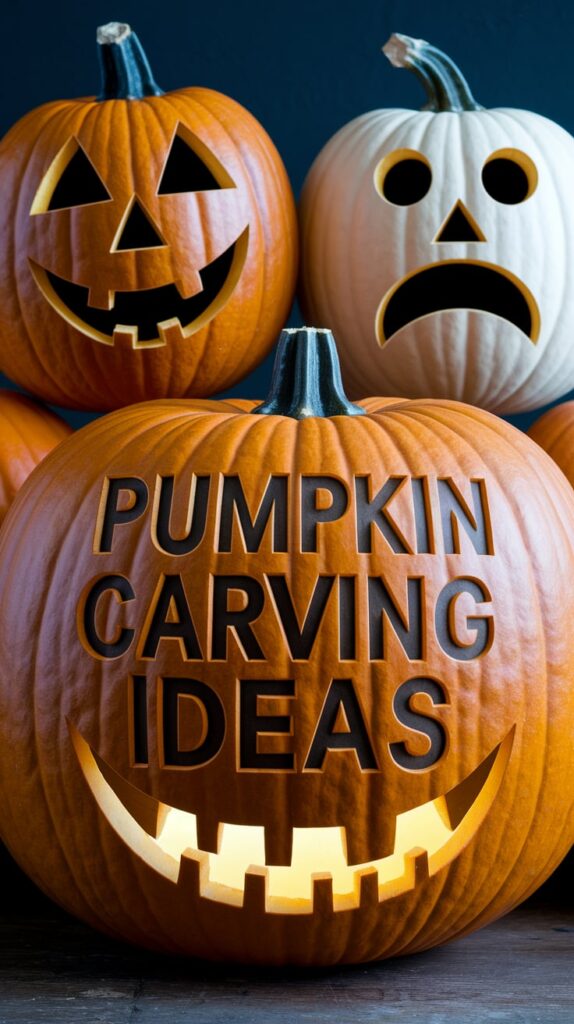
Pumpkin Carving Ideas – Pumpkin carving is a beloved tradition during the fall season, particularly around Halloween, offering endless creative possibilities. From classic jack-o’-lantern faces with spooky grins and glowing eyes to intricate, detailed designs like haunted houses, witches, and intricate patterns, pumpkin carving allows for artistic expression. Some people opt for themed carvings, such as animals, symbols, or even beloved characters from movies and pop culture.
For a more modern twist, some use stencils or even tools like drills and etching sets to create designs with fine detail and depth. Beyond traditional carving, some also use painting techniques or add embellishments like glitter, sequins, or fabric to give their pumpkins a unique flair. For families or groups, carving pumpkins together can turn into a fun activity, with everyone showcasing their creativity. Whether aiming for creepy, funny, or artistic designs, pumpkin carving is a versatile and festive way to celebrate the season.
Pumpkin Carving Ideas
Here’s a list of 100+ creative pumpkin carving ideas for you to try this Halloween or fall season:
- Classic Jack-O’-Lantern
- Haunted House
- Witch’s Face
- Spider Web
- Bat Silhouettes
- Ghosts in the Fog
- Black Cat
- Skeleton Hands
- Zombie Face
- Frankenstein’s Monster
- Graveyard Scene
- Pumpkin within a Pumpkin
- Day of the Dead Skull
- Creepy Eyes
- Pumpkin Moon
- Vampire Teeth
- Vampire Bite
- Full Moon with Bats
- Spider with Web
- Tree with Howling Wolf
- Owl in a Tree
- Grim Reaper
- Pumpkin with Glasses
- Mummy Face
- Witch’s Hat
- Pumpkin Carriage
- Bat in Flight
- Witch’s Cauldron
- Frankenstein’s Bolt
- Pumpkin with a Smile
- Sunflower Design
- Pumpkin Face with Teeth
- Smiley Face
- Castle Silhouette
- Starry Night Pumpkin
- Haunted Forest
- Day of the Dead Pumpkin
- Scary Eyes in the Dark
- Pumpkin Spider
- Spooky Trees
- Flying Witch Silhouette
- Howling Werewolf
- Pumpkin with a Nose
- Lighthearted Faces
- Pumpkin Ghosts
- Pumpkin Lantern with Heart Design
- Bloody Handprint
- Vampire Pumpkin
- Twisting Vines
- Autumn Leaf Design
- Pumpkin Dragon
- Black Widow Spider
- Scary Clown Face
- Creepy Doll Face
- Funny Frankenstein
- Pumpkin with Bat Wings
- Scarecrow Pumpkin
- Pumpkin with Star Cutouts
- Witch’s Potion Bottle
- Alien Face
- Pumpkin Carving with Monogram
- Smiling Zombie Pumpkin
- Grinning Skull
- Owl Eyes
- Shark Face
- Creepy Clown Mouth
- Pumpkin with Spider Legs
- Haunted Castle
- Pirate Skull
- Spider Hanging from Web
- Snowman Pumpkin
- Pumpkin with Crows
- Medusa Face
- Pumpkin with Slithering Snake
- Glowing Moonlit Scene
- Pirate Ship
- Pumpkin Handprint
- Witch’s Broomstick
- Pumpkin with Owl Perch
- Spider Eating a Fly
- Pumpkin Scarecrow
- Glowing Candles in a Pumpkin
- Cartoonish Faces
- Gothic Cross Design
- Pumpkin Jack-In-The-Box
- Pumpkin with Stitches
- Pumpkin Ice Cream Cone
- Pumpkin Train
- Pumpkin with Heart Eyes
- Grim Reaper with Scythe
- Pumpkin with Human Eyes
- Pumpkin with Funny Nose
- Pirate’s Treasure Map
- Pumpkin Owl Silhouette
- Jack Skellington Face
- Movie Themed Pumpkin (e.g., Harry Potter, Star Wars)
- Handprint Ghost
- Day of the Dead Design with Flowers
- Smiling Bat
- Pumpkin Ice Skating
- Spider and Web Design
- Pumpkin with Fangs
- The Headless Horseman
- Pumpkin Witch Silhouette
- Dog Face Pumpkin
- Pumpkin with Polka Dots
- Pumpkin with Heart and Roses
- Bat on a Pumpkin
- Pumpkin with Creepy Crawlers
- Ghost Holding Pumpkin
- Pumpkin Frankenstein’s Bride
- Pumpkin with Halloween Stars
- Eyeball Pumpkin
- Bat In a Crescent Moon
- Pumpkin with Abstract Design
- Spider in a Pumpkin
- Pumpkin with Painted Teeth
- Pumpkin Fish
- Scary Pumpkin Eyes
- Pumpkin Horror Movie Characters
- Pumpkin Haunted Mansion
- Pumpkin with Snakes
- Spooky Cat Tail
- Pumpkin with Clown Nose
- Pumpkin with Crow Silhouette
- Pumpkin Spinning Wheel
- Pumpkin with Geometric Design
- Haunted Cemetery
- Trick or Treat with Pumpkin
- Alien and UFO Design
These ideas range from spooky and eerie to fun and whimsical, offering something for everyone to enjoy and show off their pumpkin carving skills!
Cat Pumpkin Carving Ideas
- Sitting Cat Silhouette: A simple design of a sitting cat with an arched back.
- Cat Face Close-Up: Focus on carving the eyes, nose, and whiskers of a cat.
- Stretching Cat: A playful design with a cat stretching forward.
- Halloween Cat with Bat Wings: A cat combined with bat wings for a spooky effect.
- Moonlit Cat: A cat sitting under a crescent moon.
- Cat and Pumpkin Combo: A cat peeking out of a smaller carved pumpkin.
- Cat Paw Prints: Carve multiple paw prints around the pumpkin.
- Sleeping Cat: A curled-up cat design, perfect for a cozy look.
- Witch’s Cat: A cat wearing a pointy witch hat.
- Cat with Glowing Eyes: Focus on piercing glowing eyes and a sleek body.
- Cat and Stars: A celestial theme with a cat surrounded by carved stars.
- Cartoon Cat: A fun, animated design of a smiling cat.
- Scaredy Cat: A cat with its back arched, tail puffed up, and ears back.
- Cat with a Fish: A playful design with a fish near the cat’s paw.
- Cat Chasing a Mouse: Add a small mouse in front of the cat for a dynamic scene.
- Cat and Spider Web: A cat sitting beside or under a spider web design.
- Cat in Grass: A cat silhouette surrounded by tall grass blades.
- Cheshire Cat: Focus on the mischievous grin and eyes of the Cheshire Cat from Alice in Wonderland.
- Cat and Owl: A cat sitting next to or looking up at an owl on a branch.
- Leaping Cat: A mid-jump design showing a cat leaping across the pumpkin.
- Cat with a Jack-o’-Lantern: A cat sitting next to a traditional jack-o’-lantern face.
- Cat Yin-Yang: Two cats curled together in a yin-yang pattern.
- Abstract Cat: A modern design with sleek, abstract lines representing a cat.
- Cat with a Heart Tail: A cat with a tail shaped into a heart.
- Cat and Ghost: A playful duo of a cat and a floating ghost.
Cool Halloween Pumpkin Carving Ideas
Below is list for cool scary cool Pumpkin Carving Ideas:
- Classic Jack-O’-Lantern – A simple and traditional design with triangular eyes and a toothy grin.
- Witch’s Face – Carve a spooky witch with a pointy hat and eerie expression.
- Grim Reaper – Create a pumpkin with a haunting figure holding a scythe.
- Creepy Cat – A sleek, black cat with glowing eyes sitting on a fence or near a pumpkin.
- Bat Silhouette – Carve a bat flying across a moon or among spooky trees.
- Zombie Face – Add details like stitches, scars, and a twisted grin for a frightening effect.
- Vampire Mouth – Carve a mouth full of sharp fangs and glowing eyes.
- Spider Web – Create a detailed web pattern with a creepy spider in the middle.
- Grinning Skull – A spooky skull design with glowing eye sockets.
- Haunted House – Carve a spooky haunted house with crooked windows and a full moon.
- Frankenstein’s Monster – Create a pumpkin with a stitched-up face and bolts sticking out of the neck.
- Ghostly Apparition – Carve a floating ghost or spirit with flowing shapes and soft curves.
- Scarecrow Face – A friendly or eerie scarecrow design with a crooked smile.
- Pumpkin Stack – Carve a series of smaller pumpkins stacked on top of one another, each with different expressions.
- Monster Eyes – Carve huge, menacing eyes with wide pupils and a fierce stare.
- Haunting Tree – A twisted, gnarled tree with a spooky vibe, perhaps with hanging bats or a ghost.
- Creepy Clown – A classic creepy clown face with exaggerated features like a large red nose and sharp teeth.
- Mummy Pumpkin – Carve a pumpkin wrapped in bandages with glowing eyes peeking through.
- Witch’s Cauldron – Create a bubbling cauldron with steam rising from it.
- Skeleton Hands – Carve two bony hands reaching out from the pumpkin.
- Eyeball Pumpkin – Carve an enormous, detailed eyeball with intricate veins and glowing pupils.
- Pumpkin Man – Create a pumpkin head attached to a body, like a spooky scarecrow or monster figure.
Pumpkin Carving Process
Here is a detailed step-by-step guide for carving a pumpkin with a list of requirements to create a spooky Halloween masterpiece!
Requirements:
- Pumpkin (medium to large size)
- Carving Tools:
- Pumpkin carving kit (includes a serrated knife, scoop, and poking tool)
- Small, fine-toothed saw or craft knife (for detailed carving)
- Large, sturdy spoon or ice cream scooper (for scooping out the pumpkin)
- Markers or a stencil kit (for drawing designs)
- Candle or LED lights (for illumination)
- Newspaper or disposable tablecloth (to protect the surface)
- Bowl (for seeds and pumpkin guts)
- Gloves (optional, for cleanliness)
Step-by-Step Process:
Step 1: Select and Prepare Your Pumpkin
- Choose a pumpkin: Pick a pumpkin that is fresh, firm, and free from any major bruises. Ensure it has a smooth surface for carving.
- Clean your workspace: Lay down newspaper or a disposable tablecloth to catch any mess.
- Cut off the top:
- Using a serrated knife, cut around the top of the pumpkin (or bottom if you prefer) at a slight angle. This will create a lid that won’t fall inside.
- Make sure the hole is large enough to easily scoop out the pumpkin’s insides.
- Set aside the lid: Keep the lid aside as you will need it later.
Step 2: Scoop Out the Guts
- Scoop out the seeds and pulp:
- Use a large spoon or ice cream scooper to scrape out the pumpkin’s insides. Try to scrape the walls clean of all pulp, leaving the inner surface smooth and even.
- Transfer the seeds to a separate bowl. You can clean and roast them later for a snack!
- Clean the inner walls: For a cleaner design, scrape the inner walls of the pumpkin to about 1-inch thickness, especially if you’re creating detailed designs.
Step 3: Plan Your Design
- Choose or draw your design:
- You can either freehand draw your design directly onto the pumpkin or use a stencil. Stencils are available online or in stores, and you can print them out or transfer them to your pumpkin.
- Popular designs include faces, witches, ghosts, bats, or classic spooky imagery.
- Transfer the design:
- If using a stencil, tape it onto the pumpkin and use a poking tool (or pin) to trace the design by poking small holes along the lines. If freehand drawing, use a marker to sketch the design directly on the pumpkin.
Step 4: Begin Carving
- Start with the larger sections:
- Use the serrated knife or a fine-toothed saw to cut out the larger sections first. Carve along the outline, gently sawing back and forth. Take your time to ensure the cuts are clean and straight.
- Work in layers:
- When carving intricate areas, such as eyes or small details, cut in layers, removing small sections at a time to avoid damaging the pumpkin.
- Remove the pieces: Once you’ve completed each cut, gently press from the inside of the pumpkin to push out the carved pieces.
- Refine the design: If needed, use a small craft knife to fine-tune details or clean up any rough edges.
Step 5: Add Finishing Touches
- Smooth edges: Use a file or small craft knife to smooth out jagged edges around your design for a cleaner look.
- Shape details: If you want more depth, you can carve thinner layers on the pumpkin’s skin to create a shadow effect, such as carving the eyes slightly deeper to make them glow more.
- Clean off marker lines: Once the design is complete, wipe off any remaining marker lines with a damp cloth.
Step 6: Light Up Your Pumpkin
- Place a light inside:
- Place a candle or LED light inside the pumpkin to illuminate your design. If using a candle, place it carefully to avoid fire hazards.
- If you’re using a candle, consider cutting a small vent hole at the top or bottom of the pumpkin for airflow, ensuring the flame doesn’t go out.
- Test the light: Turn off the room lights and make sure the design is illuminated the way you want it. Adjust the placement of the light if necessary.
Step 7: Display Your Pumpkin
- Place your pumpkin in a visible location: Set your carved pumpkin outside, near your door or windows, so it’s visible to passersby. Consider placing it on a porch, front step, or near your Halloween décor.
- Preserve your pumpkin: If you want your pumpkin to last longer, consider applying petroleum jelly or vegetable oil to the carved edges to help prevent it from drying out. You can also store it in a cool area overnight.
Optional Enhancements:
- Add color: You can paint your pumpkin or use glow-in-the-dark paint to add extra flair to your design.
- Carve multiple pumpkins: Create a pumpkin display with different designs and sizes for an extra spooky atmosphere.
- Use multiple lights: Use string lights inside the pumpkin or place a light under it for a different glow effect.
Enjoy your beautiful, spooky, or funny pumpkin creation—ready to brighten up your Halloween night!

