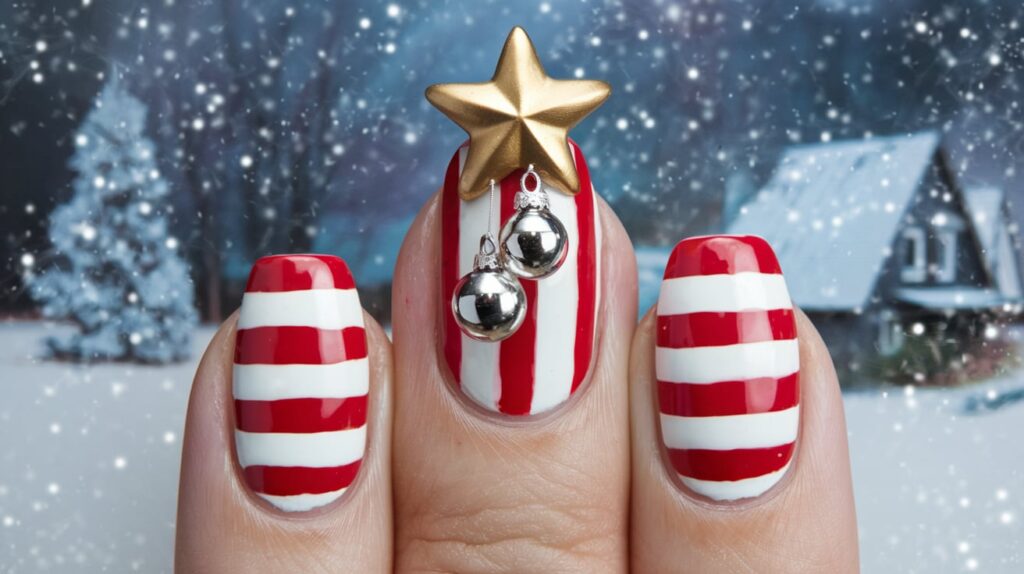
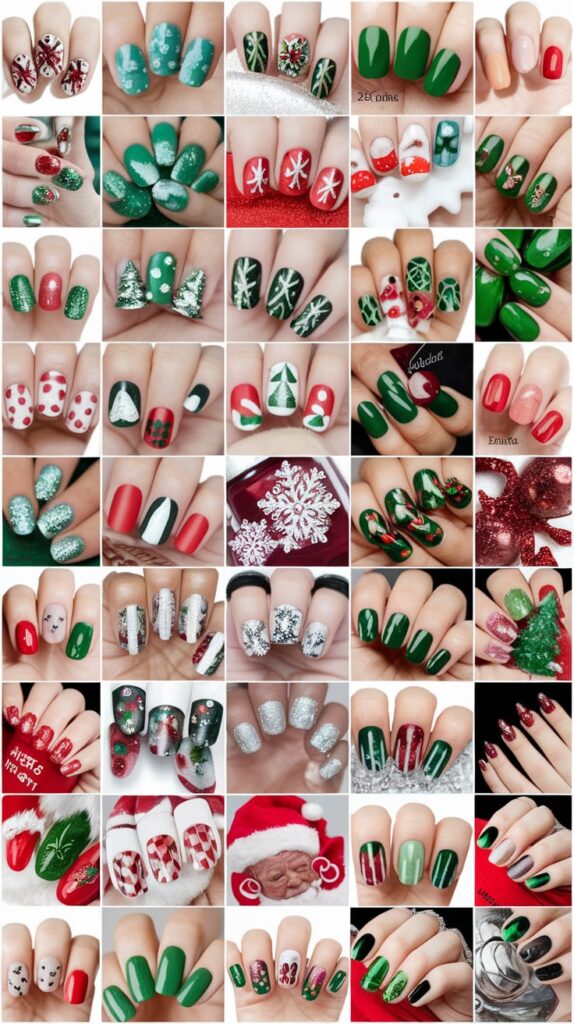
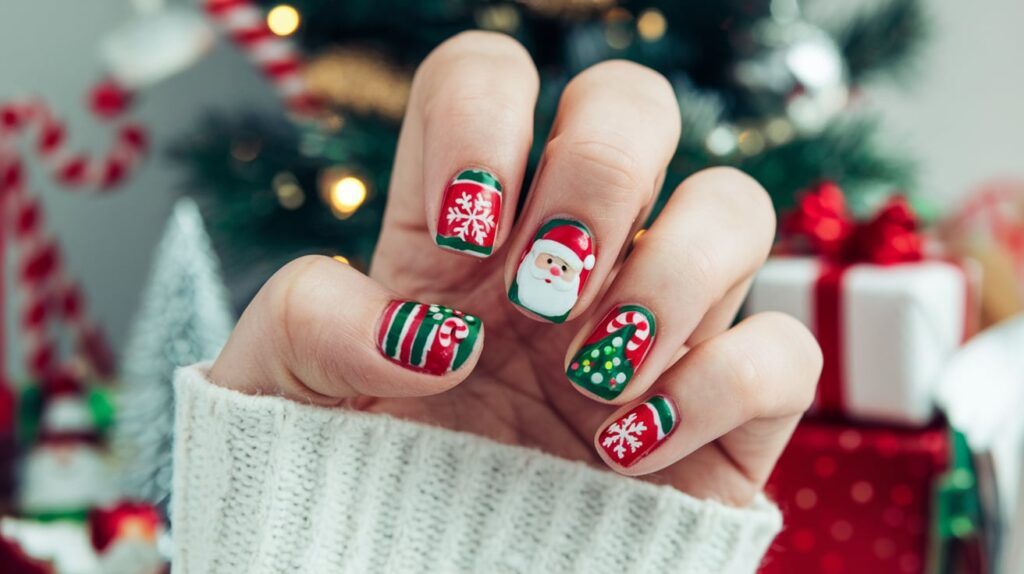
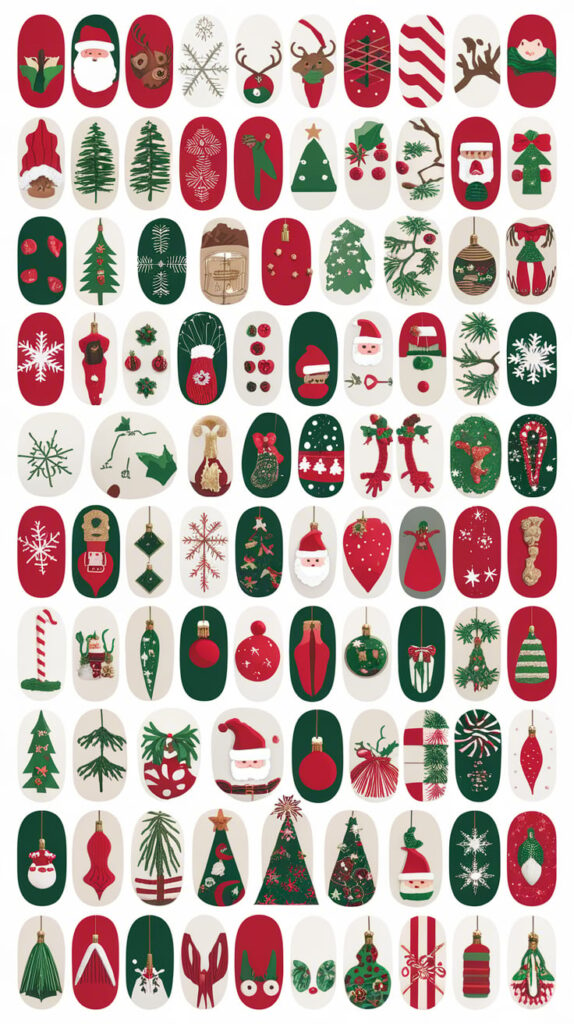
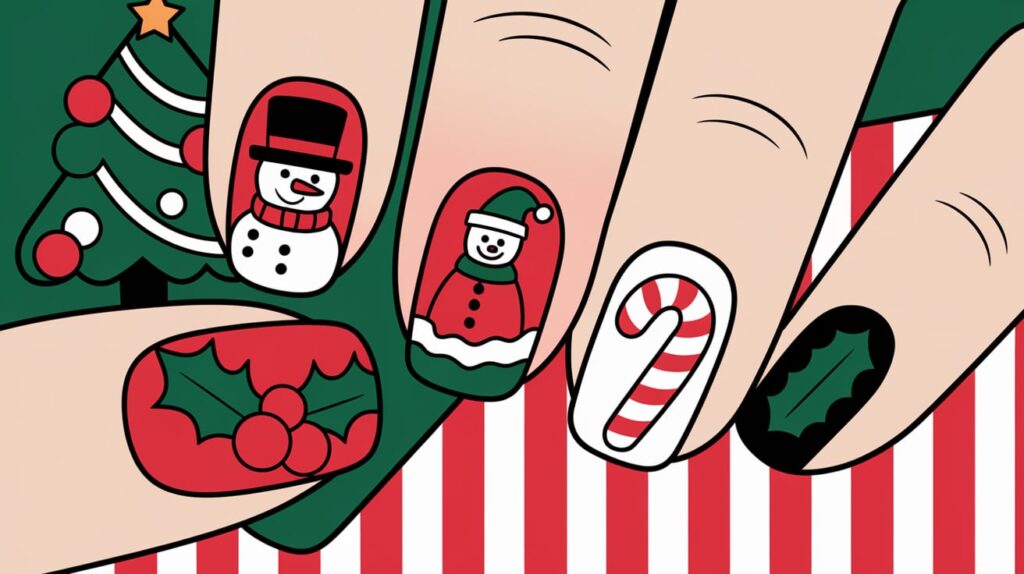
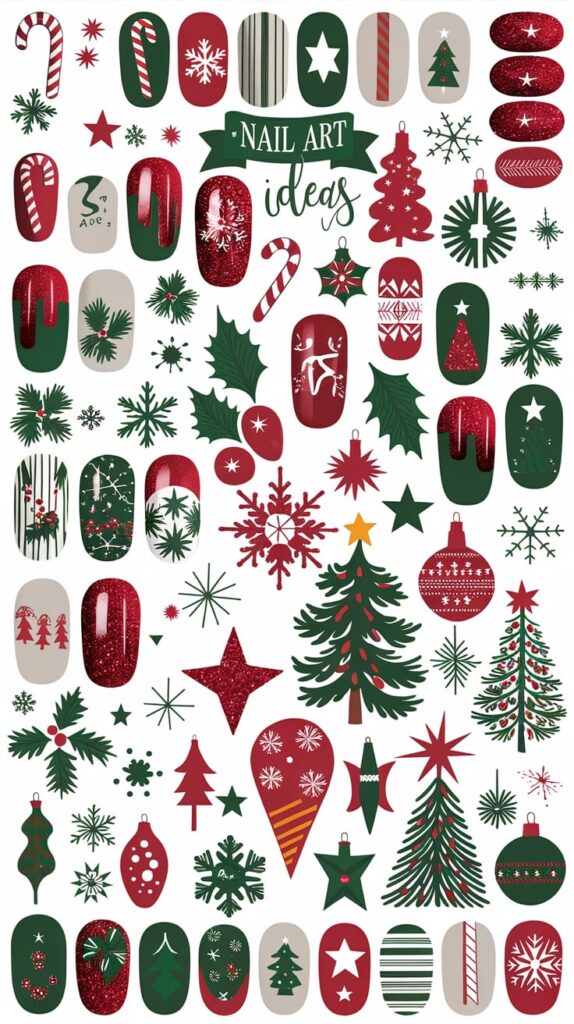
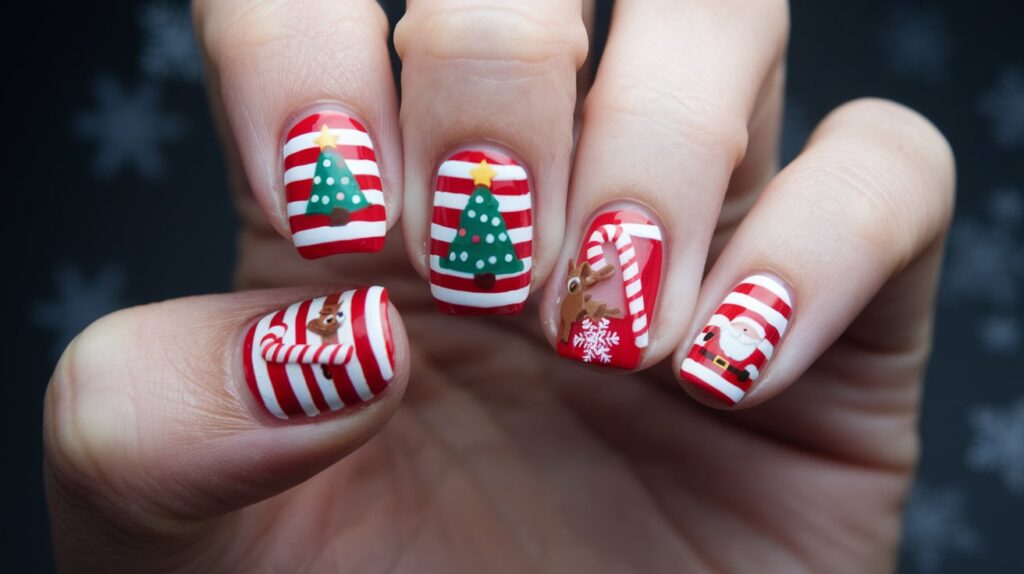
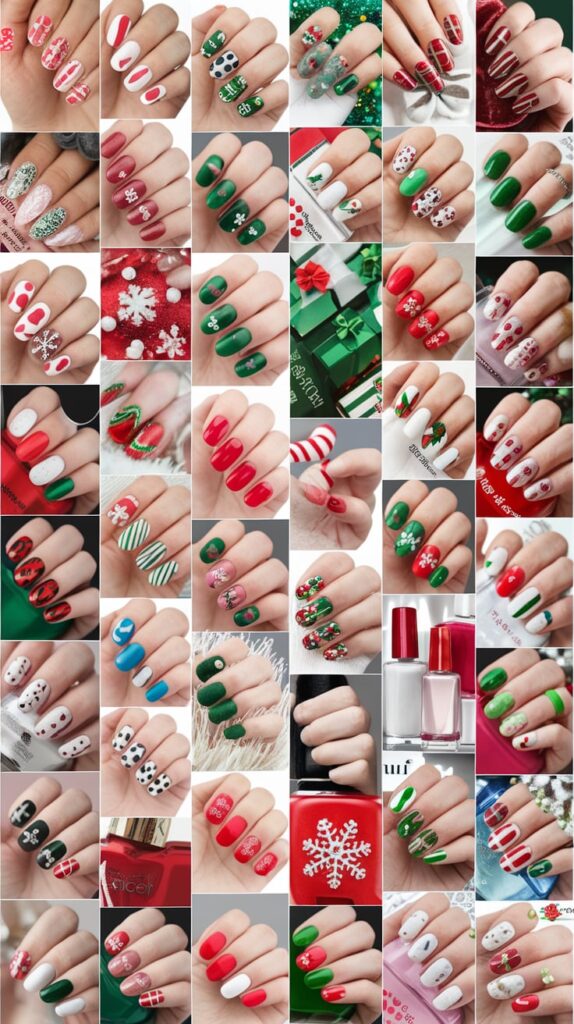
Christmas Nail Ideas – Christmas nail designs offer a festive way to showcase holiday spirit with creative and stylish manicures. Popular designs feature classic Christmas symbols, such as snowflakes, reindeer, Santa hats, or candy canes, often painted in vibrant reds, greens, golds, and whites. Glitter accents and metallic finishes add a glamorous touch, perfect for holiday parties.
For a cozy vibe, sweater-pattern nails mimic knit textures, while icy blue nails with snowflake art evoke a winter wonderland feel. Some opt for minimalist designs, like tiny stars or holly berries, while others go bold with nail jewels, decals, or 3D elements. Whether you prefer subtle elegance or playful charm, Christmas nail designs allow for endless creativity, making your holiday look complete.
Related Post –
Christmas Nail Ideas
Here’s a list of Christmas nail design ideas:
- Candy Cane Stripes
- Snowflake Art
- Santa Hat Tips
- Reindeer Nails
- Christmas Tree Accents
- Red and Green Glitter Ombre
- Sweater Pattern Nails
- Holly Berry Designs
- Gingerbread Man Art
- Winter Wonderland (Blue & White)
- Christmas Lights Pattern
- Gold and Silver Metallic Nails
- Gift Box Bow Design
- Elf-Inspired Stripes
- Icicle Drip Nails
- Nutcracker Theme
- Snow Globe Accent Nail
- Plaid Pattern Nails
- Polar Bear or Penguin Art
- Mistletoe Nail Design
These designs range from simple and chic to playful and intricate, offering plenty of festive inspiration.
How to Design Nails for Christmas
Here’s a step-by-step guide to design Christmas-themed nails:
Step 1: Gather Materials
- Base coat
- Nail polish (red, green, white, glitter, etc.)
- Fine-tip brushes or dotting tools
- Nail stickers or decals (optional)
- Top coat
- Nail tape (for precise lines)
- Rhinestones, glitter, or jewels (optional)
- Acetone and cotton swabs (for cleanup)
Step 2: Prep Your Nails
- Trim, file, and shape your nails as desired (square, round, almond, etc.).
- Push back cuticles and gently buff the nail surface.
- Clean nails with acetone to remove oils for better polish adhesion.
Step 3: Apply Base Coat
- Apply a thin layer of base coat to protect your nails and help the design last longer. Let it dry completely.
Step 4: Apply Background Color
- Choose a festive color (red, green, or white) as the base.
- Apply 2 coats, allowing each to dry before moving to the next step.
Step 5: Create Christmas Patterns
- Candy Cane Stripes: Use nail tape for clean lines. Paint white over red, remove tape, and let it dry.
- Snowflakes: Use a fine brush to draw delicate snowflake patterns in white or silver.
- Christmas Tree: Draw a green triangle for the tree. Add tiny dots for ornaments with a dotting tool.
- Reindeer Face: Paint the tip brown, add two eyes, a red dot for the nose, and tiny antlers with a brush.
- Glitter Ombre: Sponge glitter polish on the tips of your nails for a gradient effect.
Step 6: Add Embellishments
- Use tweezers to place rhinestones, stars, or jewels for added sparkle. Stickers or decals can also make designs easier.
Step 7: Apply Top Coat
- Seal your design with a glossy top coat to prevent chipping and add shine. Make sure to cover any embellishments.
Step 8: Cleanup
- Use a small brush dipped in acetone to clean up any polish that got on your skin or cuticles.
Step 9: Let Nails Dry Completely
- Allow your nails to dry thoroughly to avoid smudging your designs.
With these steps, you’ll have festive Christmas-themed nails that complement your holiday look perfectly! 🎄✨

