
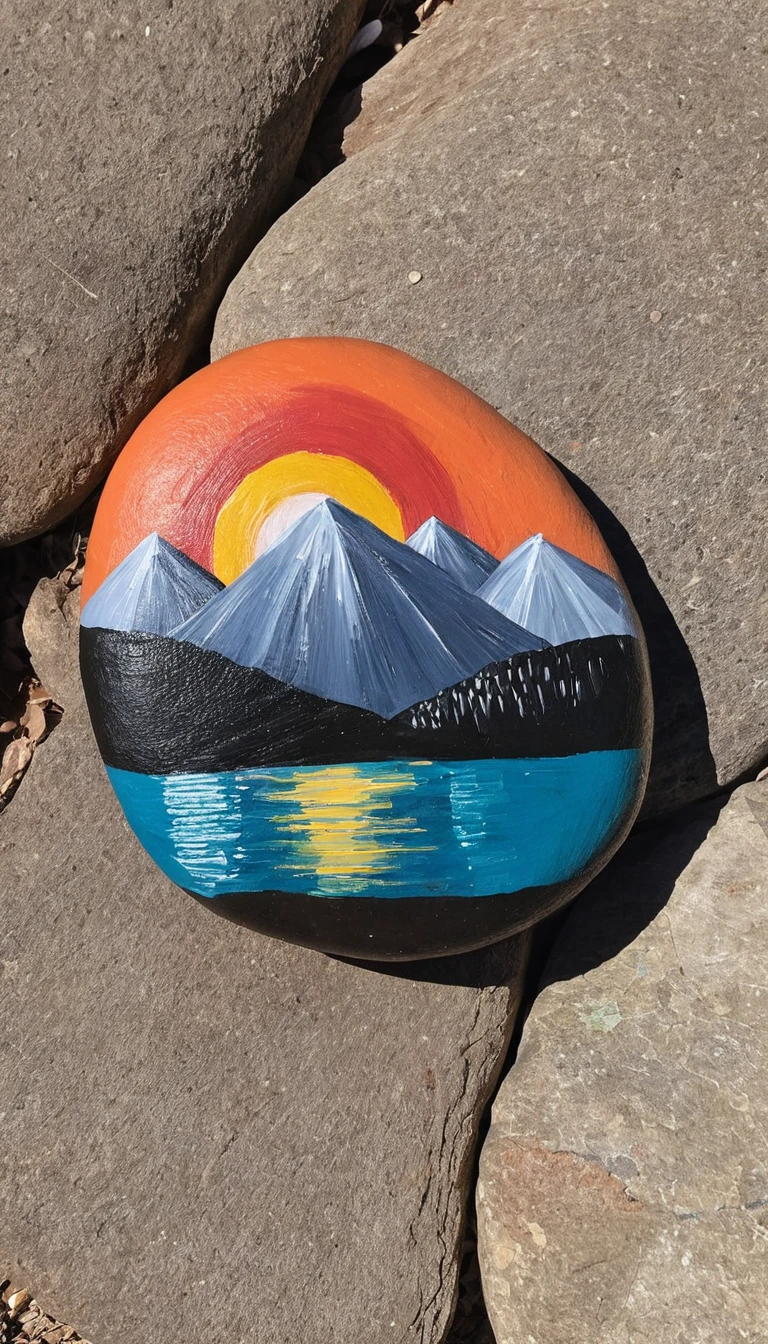
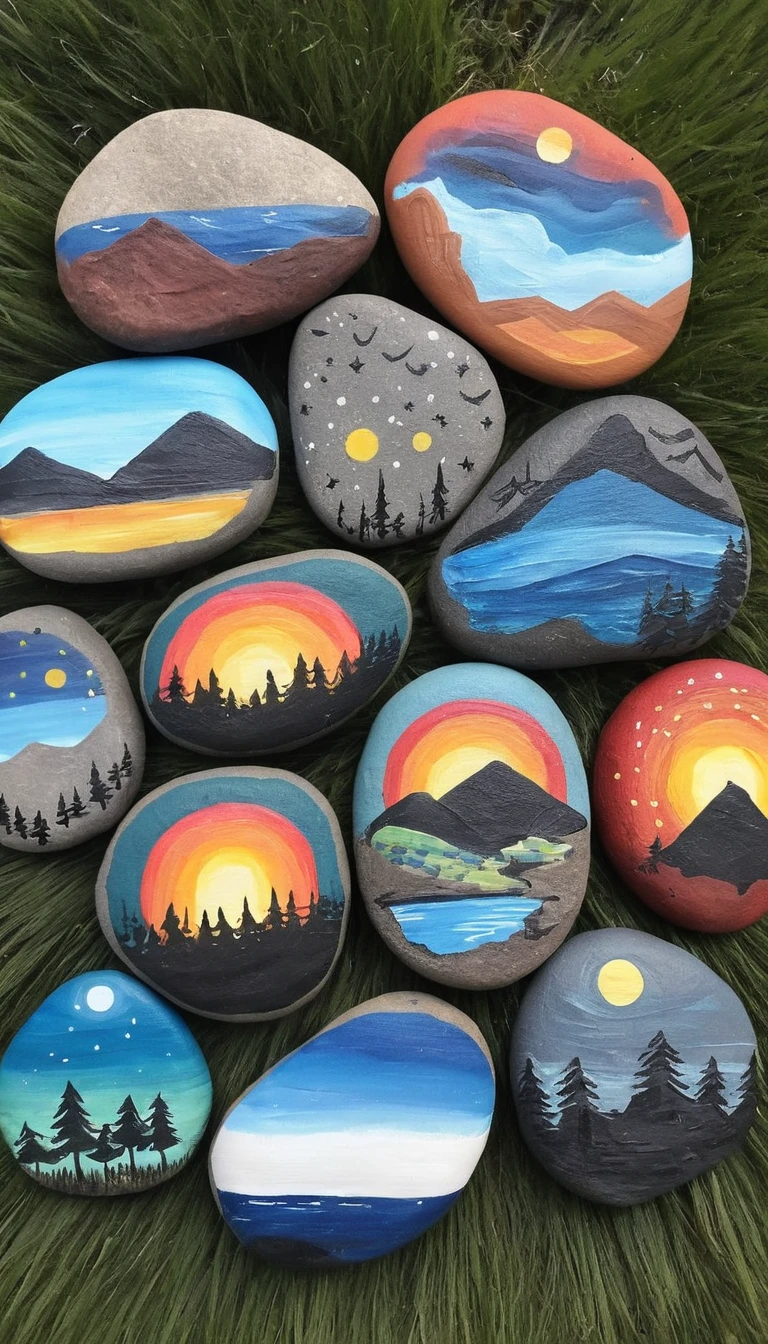
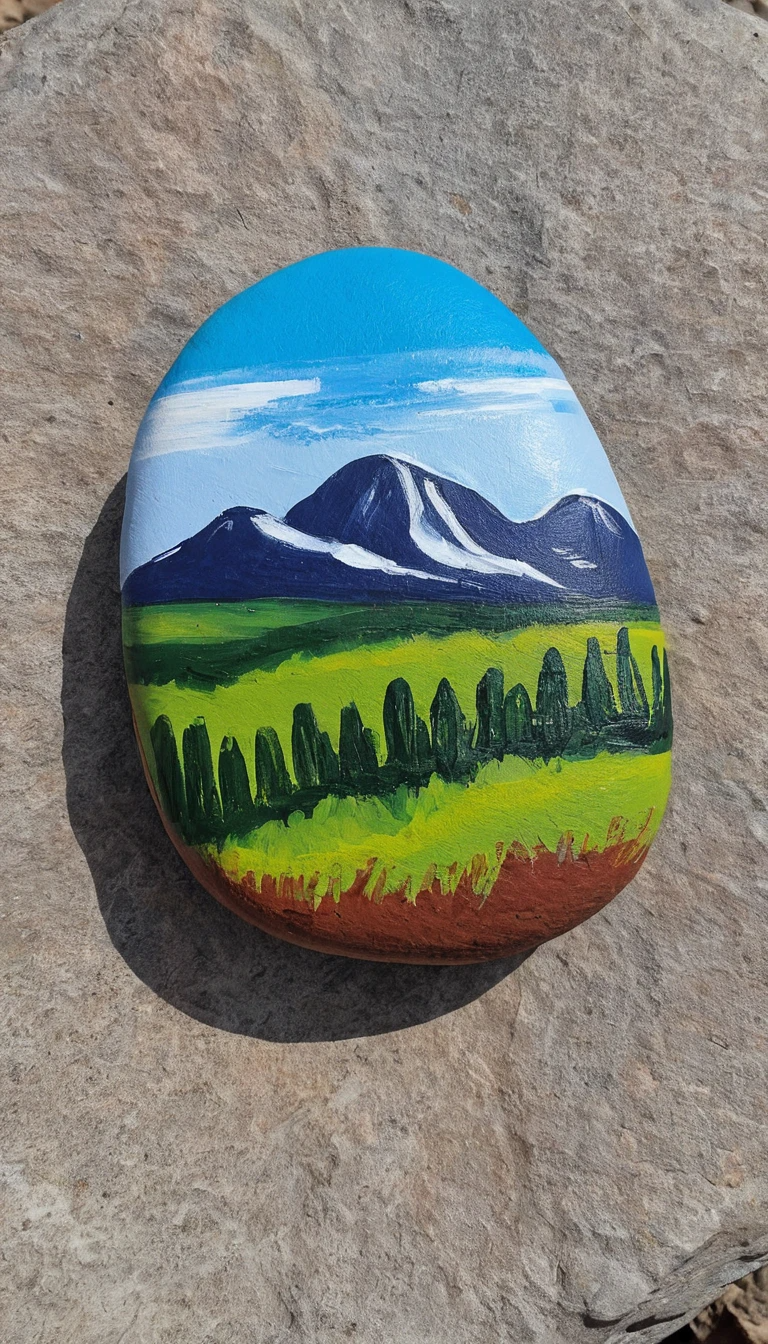
Painted rock ideas offer an imaginative and accessible way to transform ordinary stones into vibrant works of art. Whether used as garden markers, decorative accents, or thoughtful gifts, these creatively decorated rocks can be customized with intricate patterns, inspirational messages, or playful designs.

Artists and hobbyists alike enjoy experimenting with different techniques—ranging from acrylic painting to stenciling and decoupage—to give each rock its unique personality. This fun DIY project not only adds a splash of color to your outdoor space but also serves as a meditative and expressive art form, inviting creativity and a sense of connection with nature.
Painted Rock Ideas
Classic & Simple Designs:
- Smiley face
- Polka dots
- Stripes
- Rainbow
- Hearts
- Stars
- Sun & moon
- Swirls
- Checkerboard pattern
- Confetti
Nature-Inspired Rocks:
- Ladybug
- Bumblebee
- Butterfly
- Dragonfly
- Owl
- Turtle
- Fox
- Hedgehog
- Frog
- Snail
Flower & Plant Designs:
- Daisies
- Sunflowers
- Roses
- Tulips
- Cherry blossoms
- Cactus
- Palm trees
- Mushrooms
- Vines & leaves
- Watermelon slice
Animal-Themed Rocks:
- Dog face
- Cat face
- Elephant
- Dolphin
- Penguin
- Giraffe
- Zebra stripes
- Tiger print
- Fish
- Koala
Underwater & Ocean-Themed Rocks:
- Starfish
- Seahorse
- Mermaid tail
- Coral reef scene
- Jellyfish
- Whale
- Shark
- Dolphin
- Octopus
- Sea turtle
Fantasy & Mythical Creatures:
- Unicorn
- Dragon
- Fairy wings
- Phoenix
- Gnome
- Leprechaun
- Pegasus
- Wizard hat
- Magic wand
- Potion bottle
Space & Galaxy-Themed Rocks:
- Galaxy swirls
- Planets
- Rocket ship
- UFO
- Shooting star
- Astronaut
- Alien face
- Comet
- Constellations
- Saturn rings
Inspirational Quotes & Words:
- “Dream big”
- “Be kind”
- “You are loved”
- “Believe in yourself”
- “Stay positive”
- “Shine bright”
- “You got this”
- “Love wins”
- “Never give up”
- “Smile”
Holiday & Seasonal Painted Rocks:
- Easter egg design
- Halloween pumpkin
- Christmas tree
- Snowflake
- Turkey for Thanksgiving
- Fireworks for the 4th of July
- Valentine’s Day hearts
- Shamrock for St. Patrick’s Day
- Beach scene for summer
- Falling leaves for autumn
Food & Drink-Themed Rocks:
- Ice cream cone
- Cupcake
- Donut
- Pizza slice
- Candy cane
- Coffee cup
- Strawberry
- Avocado
- Chocolate bar
- French fries
Fun & Unique Ideas:
- Emoji faces
- Superhero logos
- Minions
- Poké Ball
- Lego brick design
How to Paint a Rock – Step-by-Step Guide
Rock painting is a fun and creative craft that anyone can enjoy. Follow these detailed step-by-step instructions to paint your own rock masterpiece!
Materials Needed:
1. Rocks (Smooth & Flat Preferred)
- Look for smooth, flat rocks (river rocks work well).
- Clean them thoroughly before painting.
2. Acrylic Paint or Paint Pens
- Acrylic paint works best because it’s durable and dries quickly.
- Paint pens (such as Posca pens) offer precise designs.
3. Paintbrushes
- Fine-tip brushes for details
- Medium brushes for larger areas
- Foam brushes for background color
4. Primer (Optional but Recommended)
- White acrylic paint or gesso as a base coat.
- Helps paint stick better and colors look vibrant.
5. Palette or Plate
- For mixing and holding paint.
6. Water Cup & Paper Towels
- For cleaning brushes between colors.
7. Pencil or Chalk
- To sketch your design before painting.
8. Sealer (Mod Podge, Spray Sealer, or Clear Acrylic Sealant)
- Protects your design and makes it waterproof.
- Choose matte, satin, or glossy finish.
Step-by-Step Instructions:
Step 1: Choose & Prepare Your Rock
- Find a smooth rock – Avoid porous or rough ones.
- Wash the rock with soap and water – Remove dirt and debris.
- Let it dry completely before painting.
Step 2: Apply a Base Coat (Optional but Recommended)
- Use white acrylic paint or gesso to cover the rock’s surface.
- Let the base coat dry completely before adding designs.
- This helps colors appear brighter and more even.
Step 3: Sketch Your Design
- Use a pencil or chalk to lightly sketch your design.
- This helps plan the layout before painting.
- If freehand painting, you can skip this step.
Step 4: Paint Your Design
- Start with the background – Paint the entire rock if needed.
- Let it dry completely before adding details.
- Use smaller brushes or paint pens for fine details.
- Apply multiple layers for bold colors, letting each layer dry.
- Blend colors for shading or gradients using a damp brush.
Step 5: Outline & Add Details (Optional)
- Use black or white paint pens for outlines.
- Add shadows, highlights, or extra details for depth.
Step 6: Let Your Rock Dry Completely
- Place the rock in a dry, ventilated space.
- Wait at least 24 hours before sealing.
Step 7: Seal Your Rock for Protection
- Choose a sealer – spray sealant, Mod Podge, or clear acrylic.
- Apply 2-3 thin coats, letting each coat dry completely.
- This prevents chipping, fading, and water damage.
Extra Tips for Rock Painting:
✅ Use toothpicks or dotting tools for tiny dots & details.
✅ Try sponging for a textured effect.
✅ Experiment with stencils or stickers for easy designs.
✅ Use glow-in-the-dark or metallic paints for a cool look!
✅ For outdoor rocks, use weatherproof sealer for durability.